For my family and I, Easter goes beyond the Easter bunny and the candy filled eggs. We celebrate the resurrection of Jesus Christ and we celebrate God’s love. This holiday is a very important part of our religion and it is so important for me to share these with my daughter. So while we will have fun will Easter eggs, bunnies, and just a little bit of candy, I also want to add in some symbolism to help my daughter learn why we celebrate this holy day. With Evie, we created three different Easter cross activities so she can see a cross and remember just how much God loves her! I hope y’all find these crafts fun and inspiring as well!
This post may contain affiliate links, which means I’ll receive a commission if you purchase through my links, at no extra cost to you. Please read full disclosure for more information.
Easter Cross Activities: Cross Handprints
This simple activity is perfect for the toddlers in your life! You only need a couple of things to get started:
- Paper
- Painter’s tape
- Ink Pads – these come in a pack of 8 different colors and are perfect for handprints!
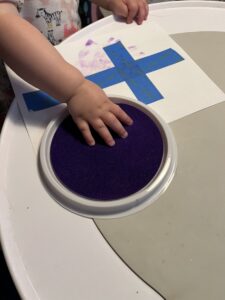
For this activity, you create a cross on the paper with the tape. I recommend using a thicker paper, such as card stock. Printer paper is thinner. It will work but the tape may start to take up areas of paper when you start to pull up the tape.
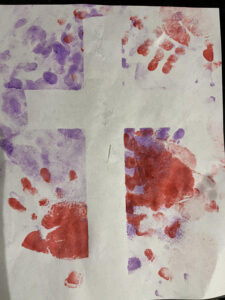
Once you have a cross taped onto your paper, have you toddler stick their hand on the ink pad and place it down on the paper. I let Evie get a little wild with her first couple of prints, this allowed for more color to be laid down around the cross. The more color that is put down, the more visible to tape resistant cross will be when you pull of the tape. Once there was a good amount of color, I stepped in a little more and had more controlled handprints laid down on top of the wild handprints.
*PRO TIP – to help reduce paper coming up with the tape, remove the tape at an angle SLOWLY!
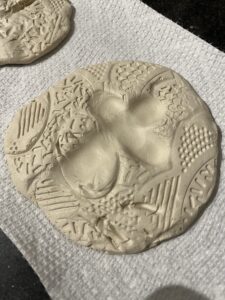
Easter Cross Activities: Clay Cross Stone
I won’t lie. This was Evie’s first time with clay. I was a little nervous but it turned out really well! I bought air dry clay from our craft store. I created a couple different disks of clay and let Evie play with the clay for a while. She ended up grabbing an old teether and used it to stamp the clay. You can use whatever texture tools you have for clay or playdough! It gave the clay a cool texture so I it was absolutely worth the mess.
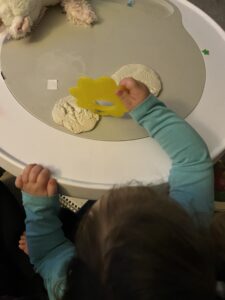
After we played around with the clay, I encouraged Evie to press her fingers into the clay to make shapes and designs. I pressed a cross into my clay disk using our fingers. We set aside the clay and let it dry at room temperature for a day.
After the clay dried we painted the disks and put them out in our little fairy garden!
I will say that the clay did crack towards the bottom of the cross, which made me a little sad. I believe that if I had added a little more water to the clay (I didn’t add any) that could have been avoided. I’ll have to play around with it and let you know.
Easter Cross Activities: Crystal Cross
This one made the chemist in me so happy! It was so easy to do too! Your children will feel like scientists as they watch crystals grow in their jars. You will need a couple of things:
- Mason jar (glass works much better than plastic) preferably a wide mouth jar
- Borax
- Hot (nearly boiling) water
- Pipe cleaners
- String
- craft stick or pen/pencil
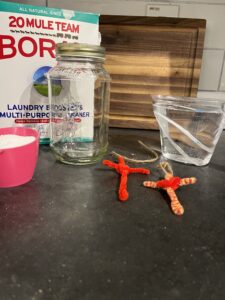
To grow your own cross crystals first use your pipe cleaners to create a cross. Use your string to create a loop to hang your pipe cleaner cross from. Adjust your string loop so that your cross hangs in the middle of your jar without touching the sides of the jar. If your cross touches the side of the jar, the crystals will break off when trying to remove the cross from the jar. You also want to make sure that you can remove the cross from the jar without having to bend the pipe cleaner. Once the crystals set your cross will no longer bend. If your cross is too big it will get stuck in the jar. This is why a wide mouth jar is preferable.
For this next part, adult assistance is required! To create your crystal solution, boil 3 cups of water.
Once your water is boiling, have an adult carefully pour the water into the mason jar.
Next stir 1 cup of borax into your jar and hot water. The water needs to be hot still! This allows for more borax to dissolve into solution, creating beautiful crystals. Stir until no solids are visible in the solution. Your solution will be cloudy and that is okay! Your solution will clear up.
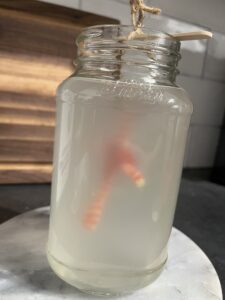
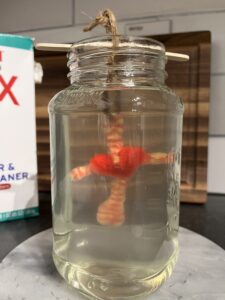
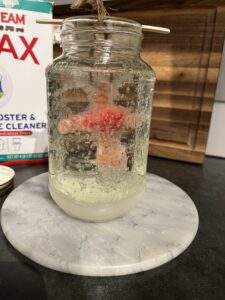
Afterward, carefully place your pipe cleaner cross into the jar. Let the jar sit undisturbed for up to 24 hours. Throughout the day, have your child check on the cross. Mine started to have visible crystallization after 3 hours. My cross was completely crystalized after 12 hours.
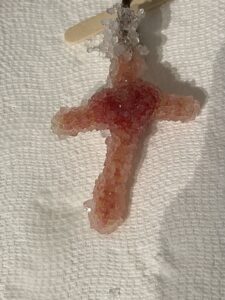
Pull your cross out of the solution. Do this step carefully. Your crystals will fall off if you are too rough with this. Let your cross dry and enjoy hanging it up! For a bonus activity, carefully drain the solution (it can go down the sink). Keep your jar for a bonus lantern activity!
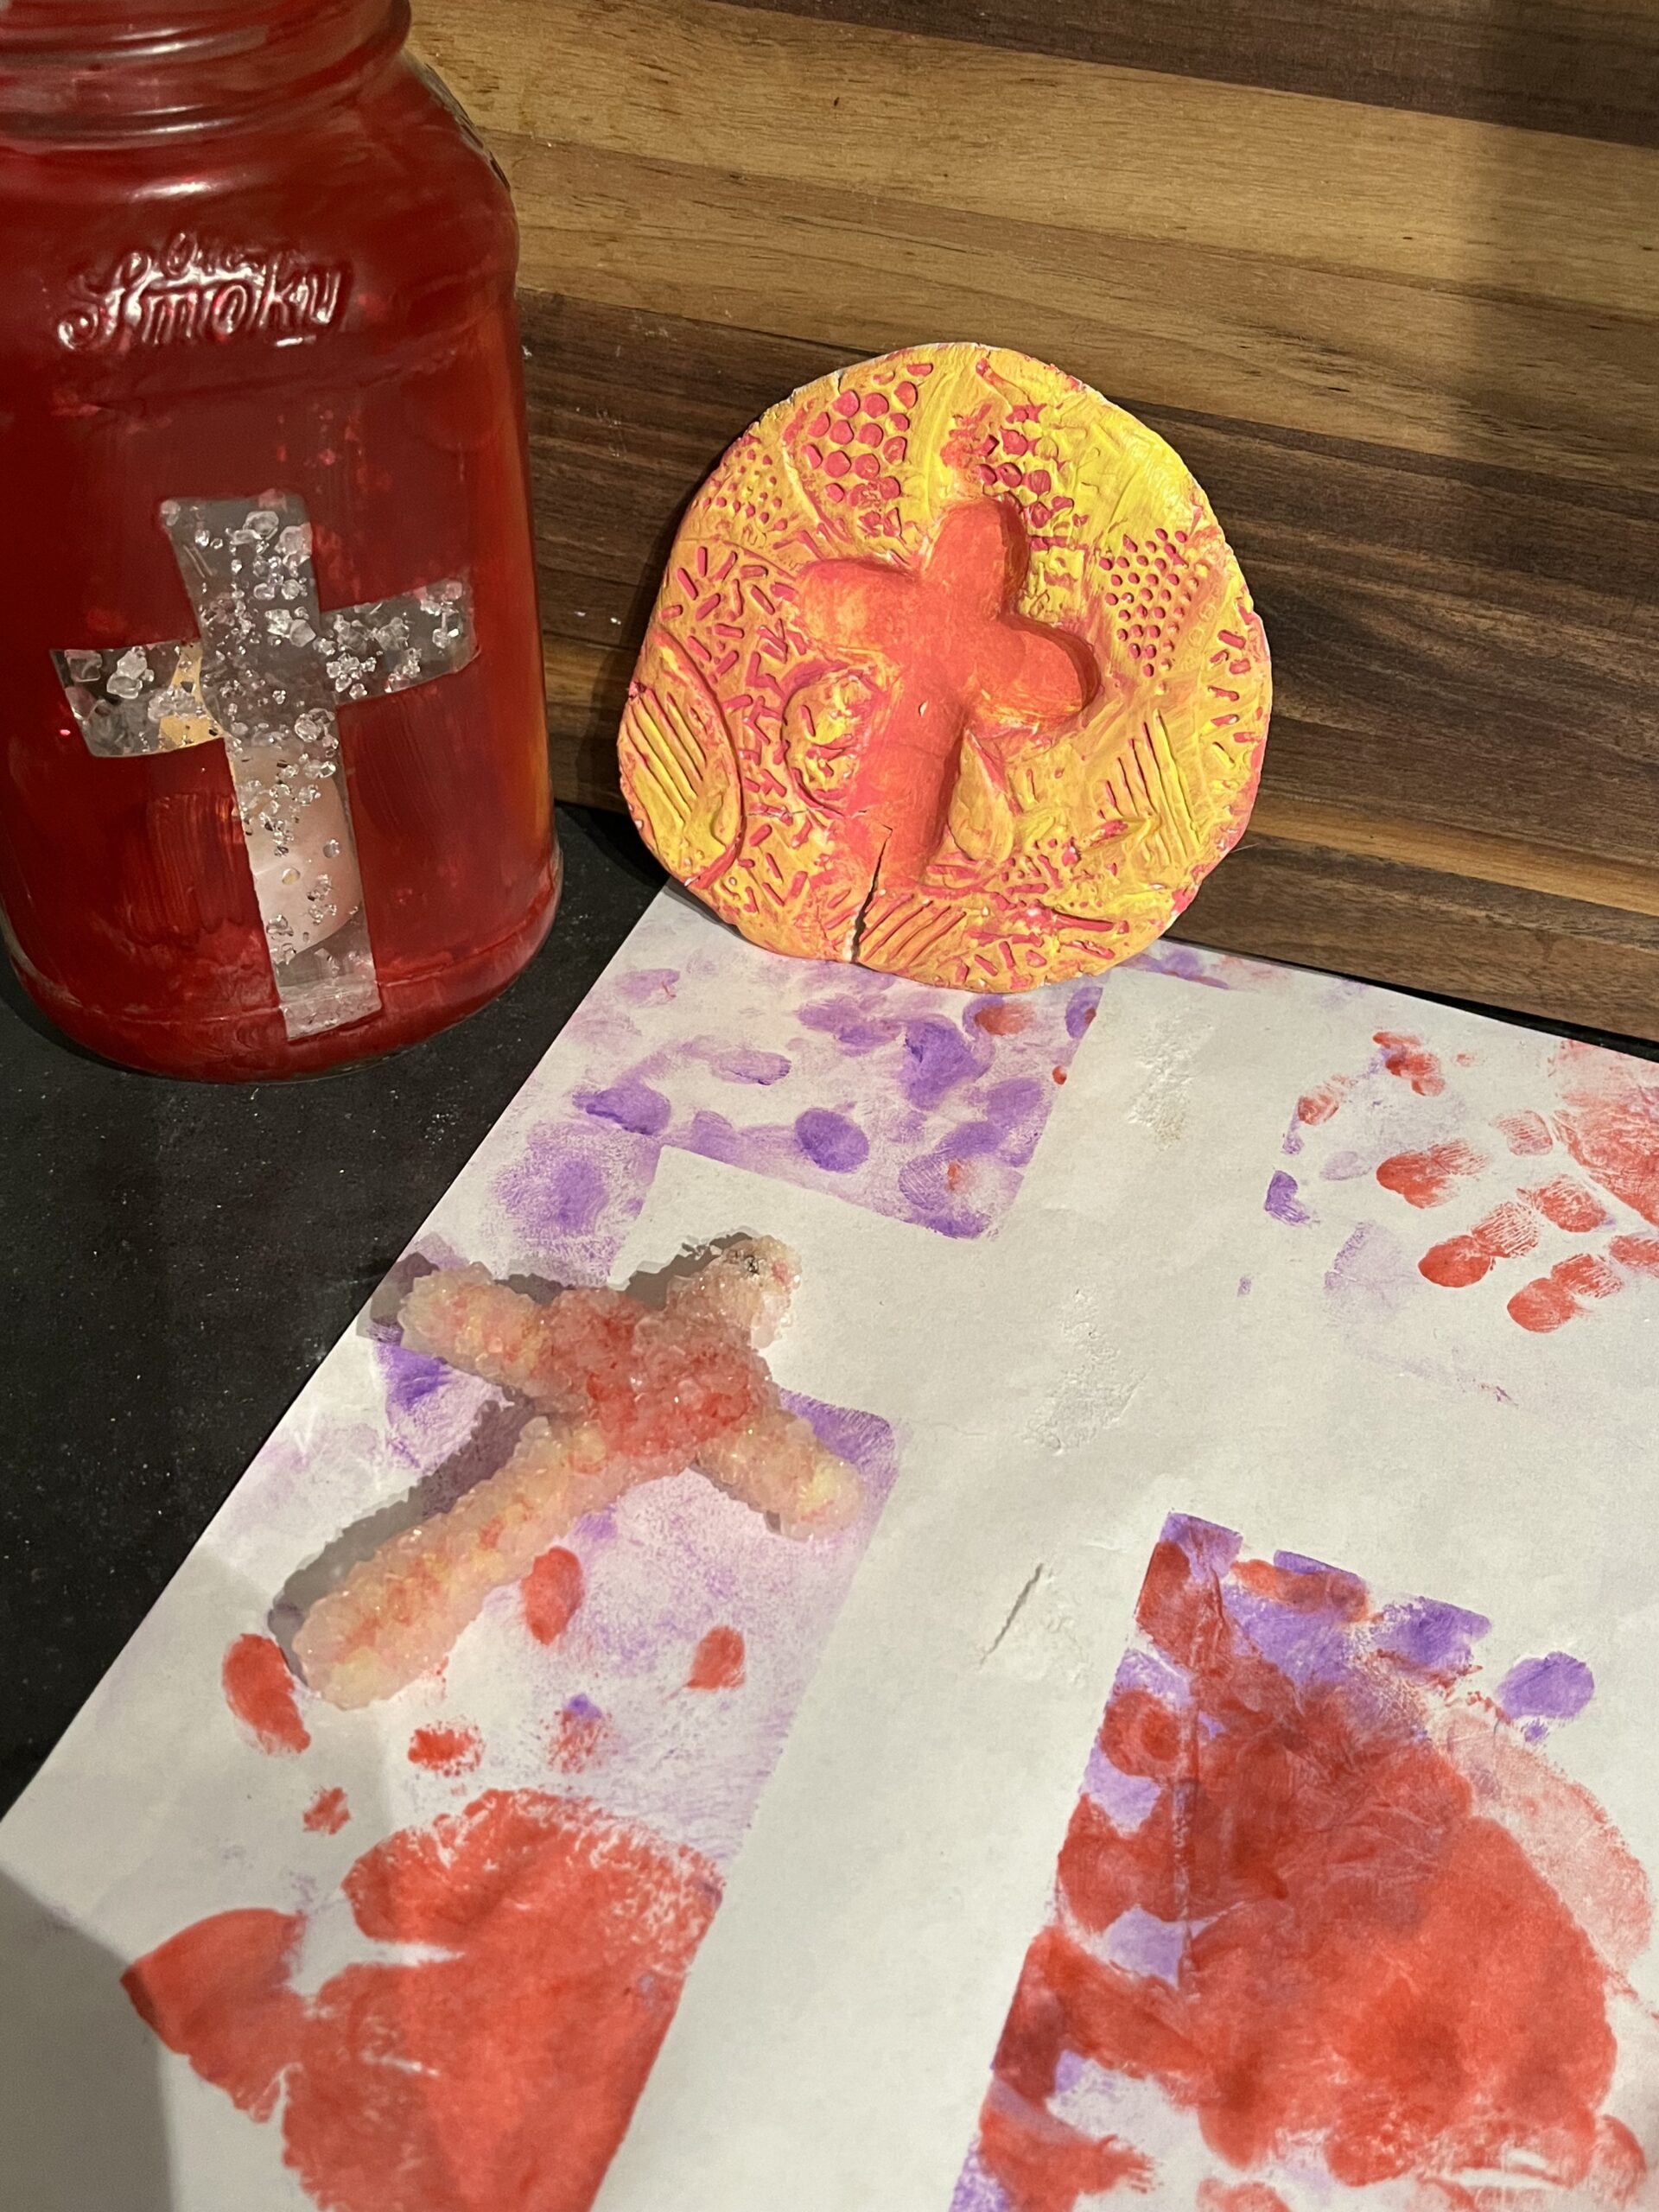
Bonus Activity: Crystal Cross Jar Lantern
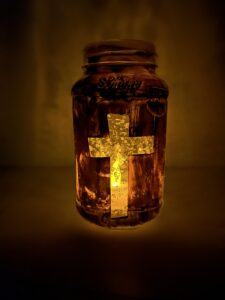
After creating my crystal cross, I couldn’t leave the beautiful crystals in the jar and not do anything with them. I decided that I wanted to paint the jar and create a cross lantern!
Using painter’s tape, tape a cross onto the front of the jar. I painted the front and sides of my jar red, pulled of the tape, stuck a tea light into the jar and had a simple lantern!
Leaving the back unpainted allowed the light to shine through and create backlighting and I LOVED it!
Final Thoughts
Overall, I loved creating these crafts and sharing this important time with my daughter. There are some great books that I used to introduce the subject with her.
She loved the clay the most! Which one did your child love? Do you have any crafts that you love doing with your children to celebrate? Feel free to leave a comment and share! Thanks for reading!
Look for more Easter Crafts?