Something I have learned from my time as a preschool teacher is that children learn from everything in their environment. They are naturally curious, and they seem to find the littlest things fascinating. This makes them wonderful scientists! Today, I have a great science activity to foster this love for exploration.
I feel as though we can all learn something from the children around us. I try to keep a close eye to see what the children are interacting with and how I can turn something into a STEAM activity. Today my inspiration came from my daughter. We went to the zoo for the first time, and she was so excited. Her eyes lit up and all she wanted to do was sit there and stare at the animals. To be honest, I have never seen her so still in her life! She was complete engrossed in the animals, but her favorite one was the flamingo!
Evie stared at the flamingos and when it was time to move on, she was not having it. So, I did what I had to do so the poor people behind us could see the flamingos too…I promised to buy her a flamingo toy at the gift shop. Where am I going with this? I know…I know. I promise I have a point! Later that night Evie was playing with the flamingo in the living room, and she got up, walked over to the dog’s water bowl and dropped in it. I fished out the flamingo, dried it off and took her and the toy back to the living room. Yet again, Evie got up, ran to the dog bowl and dropped the flamingo into the water.
I took me a couple of times to understand why my daughter suddenly had a crazy interest in the water bowl. It was only the flamingo that she dropped into the water, Gerald the Giraffe and Tina the Tiger both stayed nice and dry in the living room. The though occurred to me, was Evie trying to replicate the environment where she saw the flamingos at? It would make sense to me. Every flamingo we saw at the zoo was in the water or next to the water.
Regardless of whether or not she was replicating the environment or simply playing the water that had caught her attention, the idea stuck in my head. This could be a great way to introduce habitats and environments to child for a STEAM lab with an emphasis on a science activity!
Constructing Shelters
For this activity, there are a couple of different opportunities for you. First, you can do this activity with natural materials outside! This options allows your child to explore their natural world, and makes this a science activity first and foremost. The second option is to do this activity inside with items that you can gather around your home!
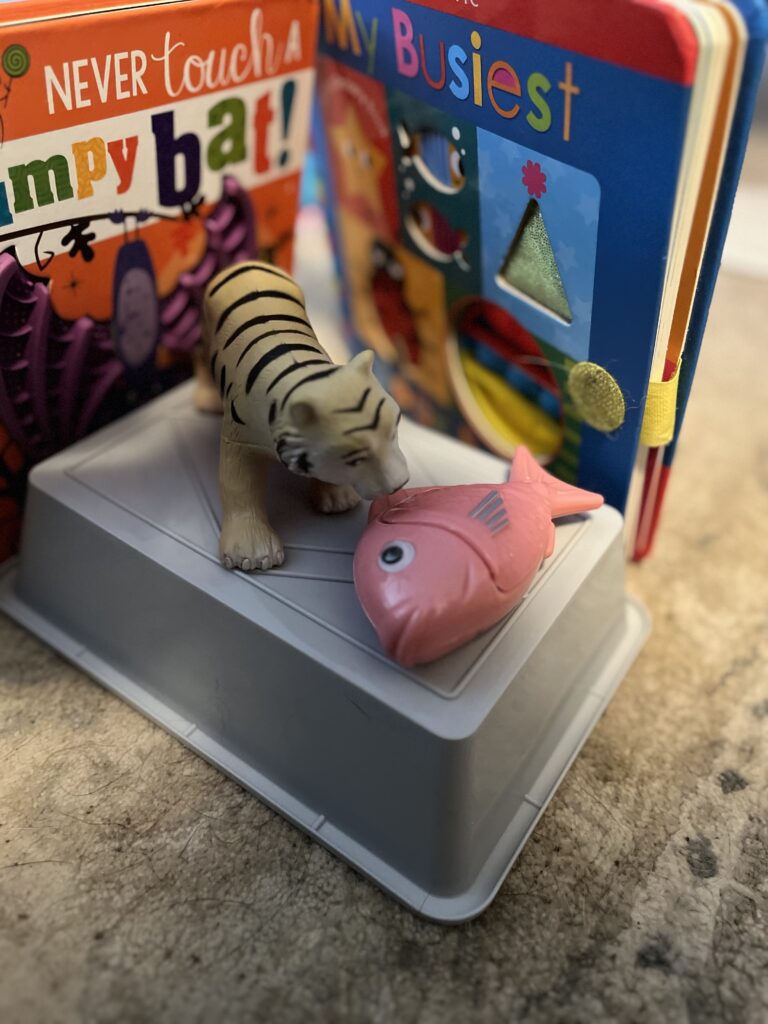
Right now, the weather is not ideal for taking Evie out and about to create habitats, so I did our activity in our living room! Since we just went to the zoo, I used the tiger and giraffe toys that Evie already had laying around. The flamingo is currently being cleaned after a series of unfortunate events… For this science activity I would recommend using animals that are familiar to your child. Use the toys that your child already has! There is no need to go out and buy new toys. Even if your child doesn’t have toy animals, you can use stuffed animals, real or imaginary, or you can use printed pictures of animals. Another one of my favorite options is to create an imaginary animal with a set of various traits! You can combine different features from different animals and create a habitat for an imaginary creature. For example, maybe your animal has a head of a lion, tail of a peacock, the body of a hippopotamus, and legs of a giraffe.
Things you need:
This post may contain affiliate links, which means I’ll receive a commission if you purchase through my links, at no extra cost to you. Please read full disclosure for more information.
- An animal or creature
- A space to build
- Items for your child to use to construct a habitat
- These items will vary based on your selected location. If you are building a habitat outdoors, you may use more natural materials like sticks, rocks, leaves, grass, flowers, mud, etc.
- If you are constructing a habitat in your home, you can use different materials such as books, blocks, boxes, pillows, blankets, balls, etc.
Remember! You can use anything you can think of, the only limitation is your imagination! Just because it is a book, doesn’t mean it has to be a book! Maybe it is a wall to a house!
Next Steps
The next steps are important ones. These are the steps that take this activity from being a random playing experience, to a STEAM activity. Plan a habitat! Ask your child what are some things that your animal needs to live. Now this line of questioning is not going to be easy and you won’t get the answers you want to hear right away. They are going to say “Food! Water! Shelter!” like you and I would. It can also be hard to resist the urge to give them the answer! I highly recommend that you do! Resist the urge! Instead think with them, start with asking them what they need to live. What things do they do every day! What’s something they do when they get up? Prompt them to think about their routine and draw connections between what they may need to live and what an animal might need to live! If you have pets, you can always tie them into the discussion! This is the basis for this lesson. This is the part where your child learns about the natural world, making it a science activity and STEAM project.
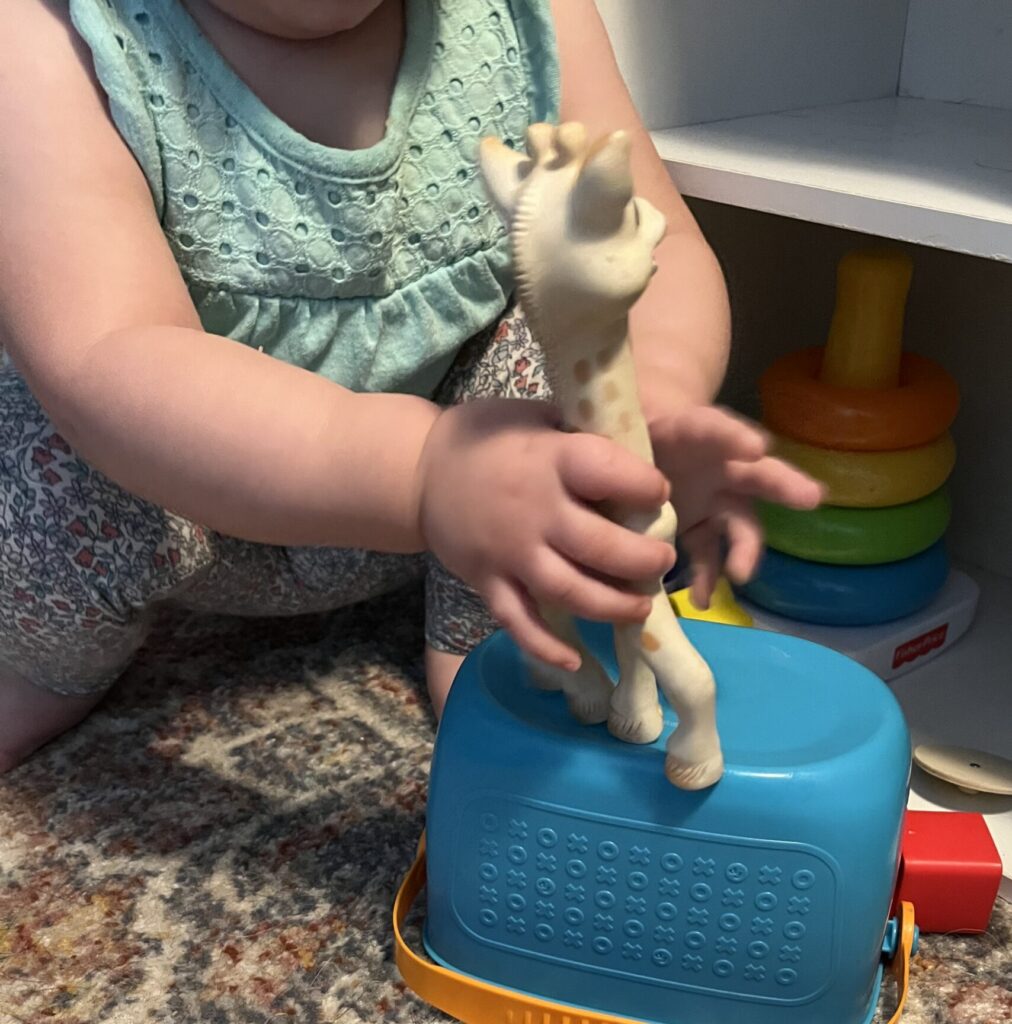
After going down the questioning path it is important to keep the connection between the needs of the animal and the habitat they live in. If you put a tiger in the middle of a pool, the tiger might not be very happy!
Once your child is thinking about how the habitat needs to look or function, it’s time to start the construction of the habitat for this science activity. If you have a monkey, how can you make trees for the monkey to climb on? If you have a flamingo, how can you make a body of water for the flamingo to gather food from?
Age Modification
18-months
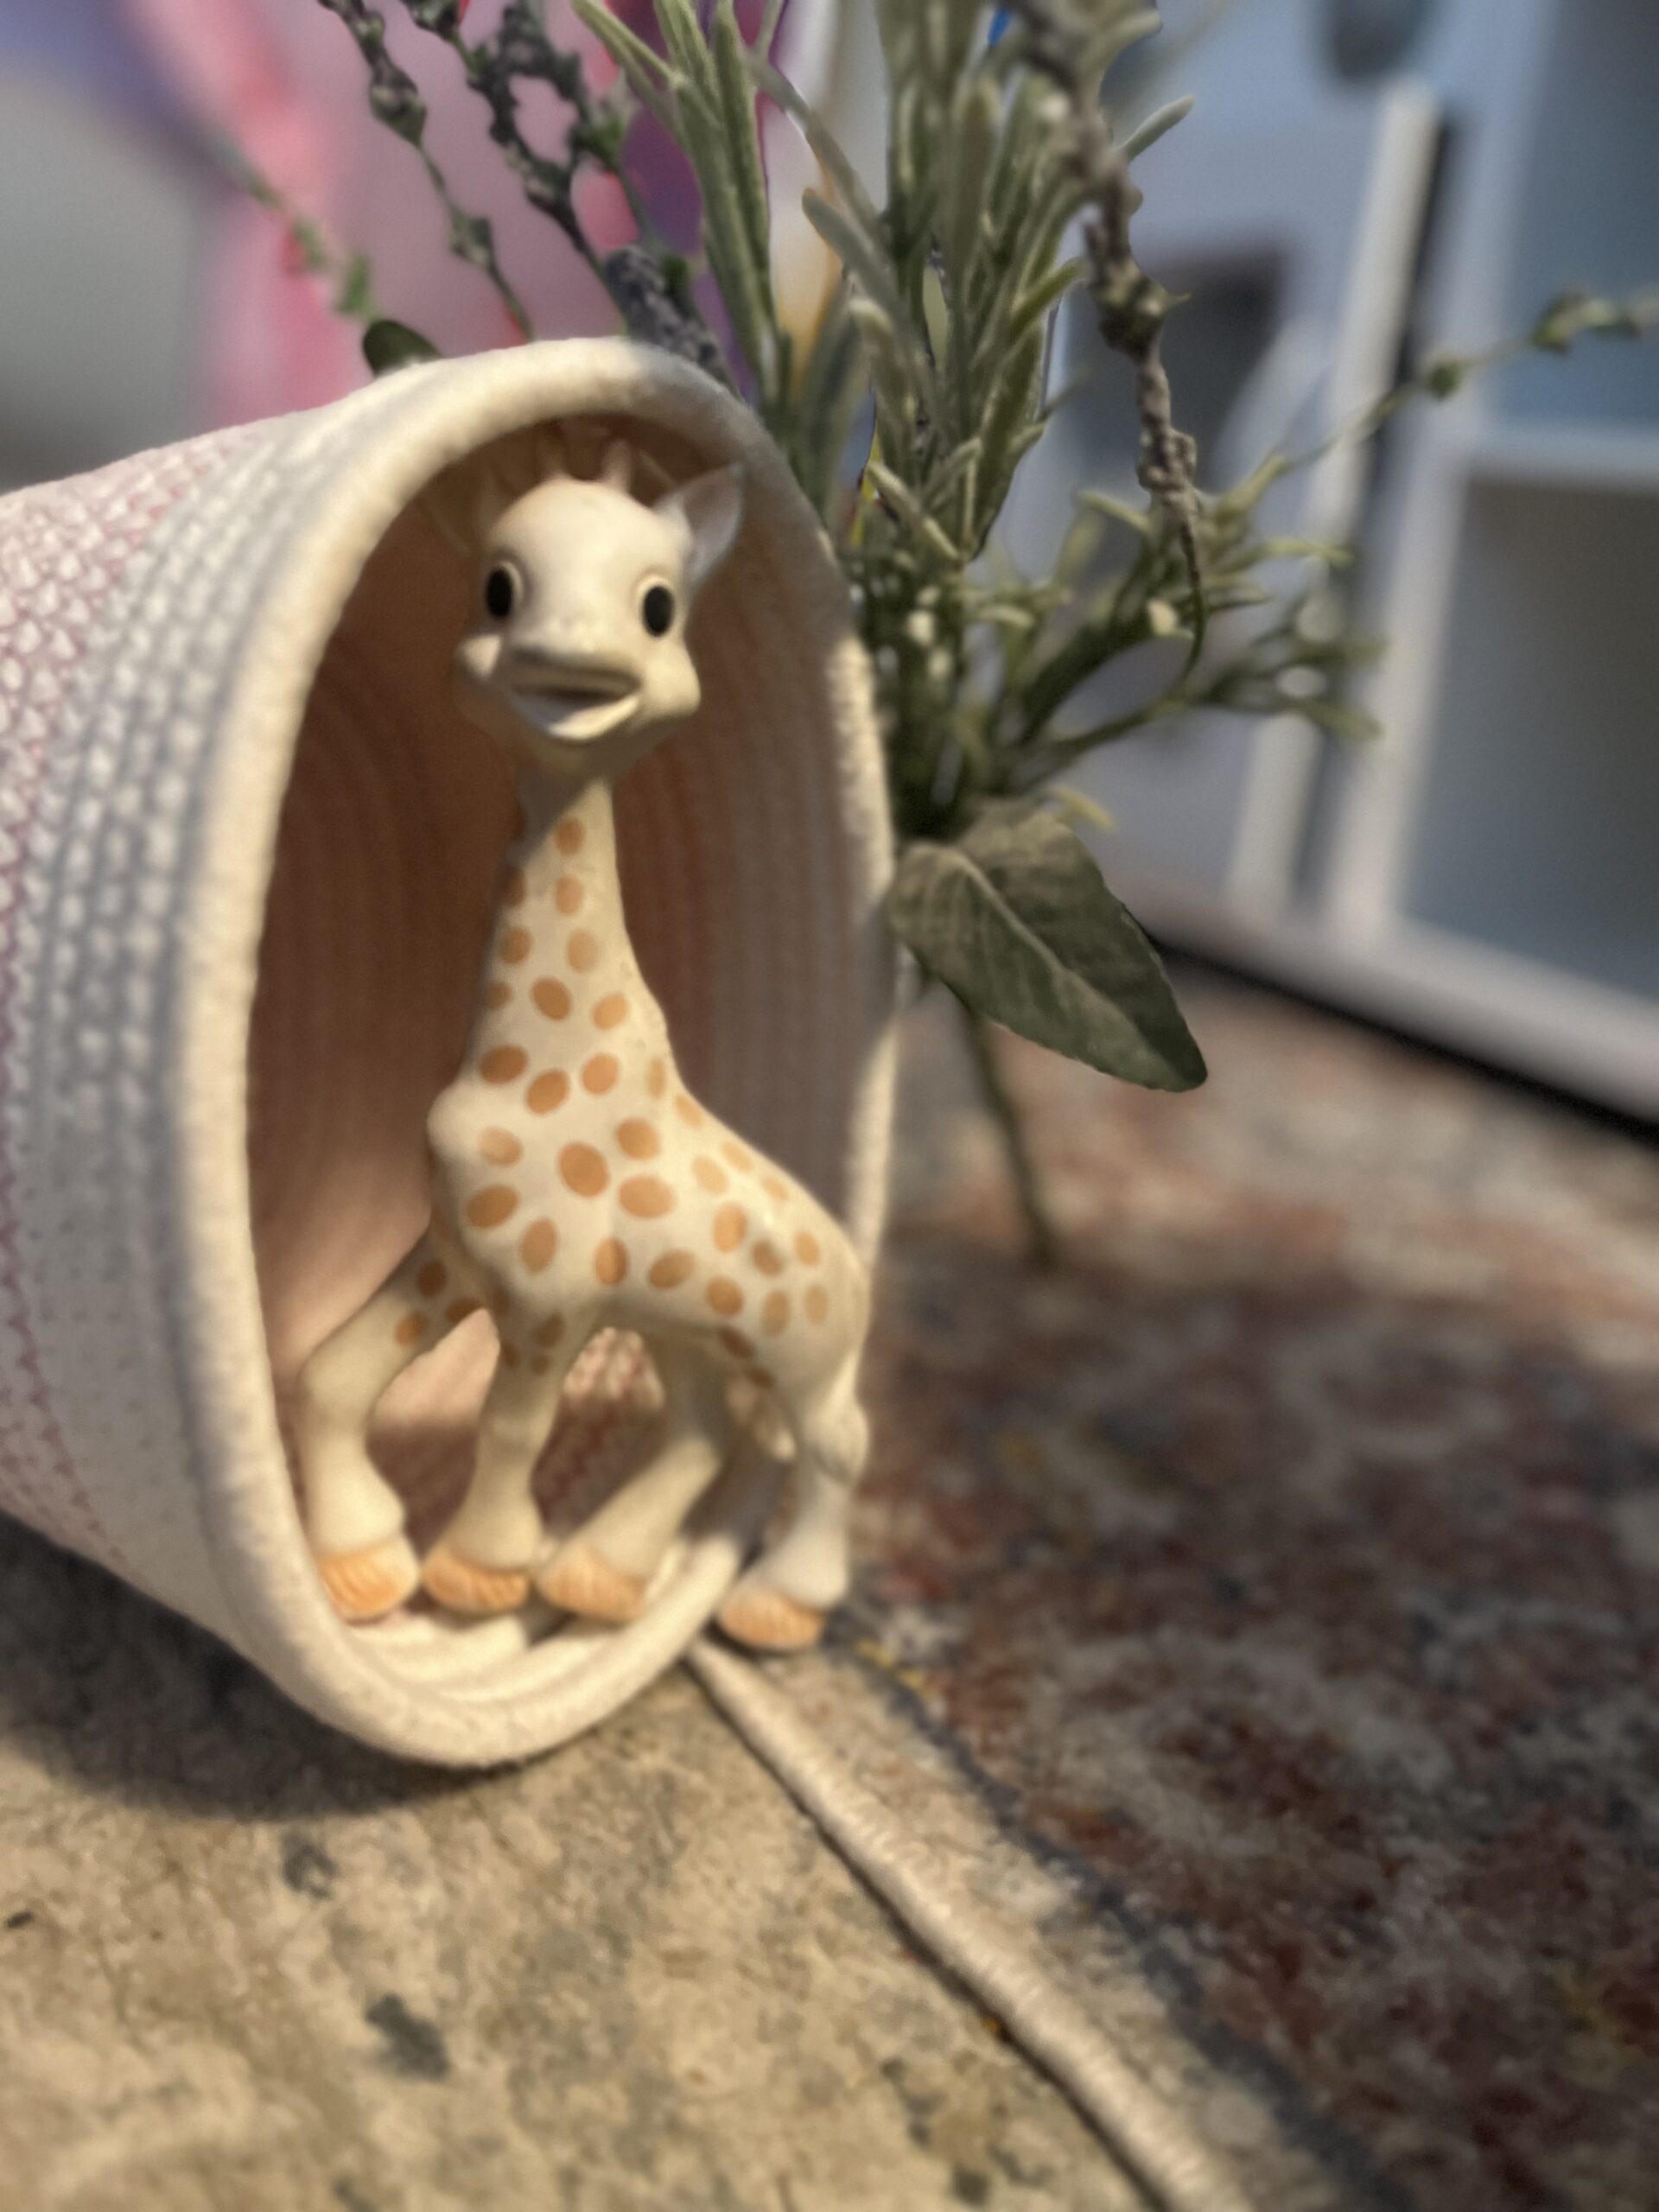
Allow your child to be creative with this process! The age of your child will affect how much he or she will do. For example, Evie, at 18-months put a giraffe into a basket. This became the shelter. At this age, explaining that the giraffe is living in the basket, and the giraffe likes to eat foliage would be the level of interaction I would expect here. The important thing to do here keep interacting with your child. Explain where the animals live. Explain what they might eat. Encourage your child to say the name of the animals they are playing with. Encourage and praise them when they start to construct their own structures. Stacking blocks is a great way to practice their fine motor skills!
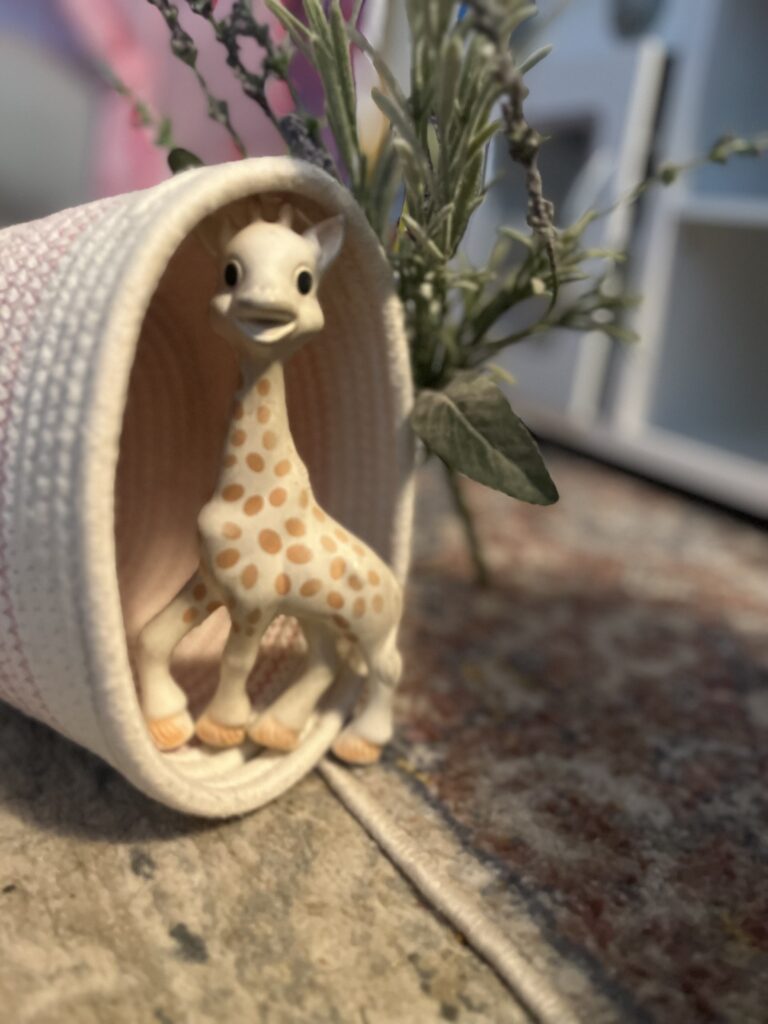
3-4 years old
For this age, I would use animals that your child is already familiar with. By using an animal that your child is already familiar with, you can encourage them to think about what they already know about the animal and how their environment may help them obtain their specific needs. This is truly engaging your child on the science level of the STEAM project. Continue to build your child’s knowledge by introducing new facts or sounds into their science activity. Ask your child how he or she would build a shelter for different animals. Would a giraffe need the same shelter as a tiger? Allow them to build structures and ask them why they built it that way. Allow them to explain their reasoning and thinking. This helps develop their logic and reasoning skills!
You can even introduce writing elements to help develop their penmanship! Have your child practice writing by having them trace the name of the animal they are building a habitat. Check to make sure your child is holding the crayon, pencil, or marker properly. It may be uncomfortable for your child at first. They may revert to holding the pencil with a fist. Keep checking and reminding them. The more often they use the proper pincher grip, the more comfortable it will get and the sooner they will develop the fine motor skills that they need to write.
5+ years
At this age, challenge your child to really think about every aspect that goes into an animal habitat. Your child can integrate technology into their lesson and help your child start to research their selected animal. Help your child put together a research journal about their animal and their needs. Ask your child about some of their choices and how they used their building materials. Did they use materials that you weren’t expecting? Did they create a new way to demonstrate their own ideas?
Another of my favorite adaptations is having a child create their own animal. Encourage your child to use their imagination to think of an animal with unique qualities. This is such a beneficial way to engage children. When they are creating their own animals, they are thinking about the qualities that make their animal special. They think of why an animal might need to eat a specific food or live in a certain environment. Any time you can engage your child with a topic that interests them, you will see more participation in your activities.
STEAM Integration
Science
Involving children in the natural world around them is the key to introducing your child to science topics during this science activity. Not only can you introduce your child to the basics of ecology, you can also expose them to biology topic. Another important aspect of science is the logic and reasoning skills that a child will practice. Making the connection between the environment an animal lives in and the animal itself is very important. A child can understand that a penguin will not will in the same environment as an alligator. Helping a child understand how an animal and its environment are closely linked will strengthen your child’s science knowledge.
Engineering
This activity is a great way to help your child build some engineering skills! Allow your child to build these fine motor skills that it takes to stack blocks. The more practice that your child has with these activities the sooner you will see improvement in your child’s hand-eye coordination. Did you know that building towers is very common at this age! Children will want to see how high they can build a tower. If this is the route your child starts going, may you can call it a mountain and think of some animals that live in the mountains! Children will try to create structures, some of them may not work. It can be easy for children to become discouraged at this point. Encourage them to try something different! The more they work through problems, the easier problem solving will be for them later. When your child is working with their hands and creating their own structures, they are building critical spatial awareness skills!
Technology
For this activity, this area does not need to be integrated. However, for older children, I do believe that it would be beneficial. You can integrate technology into your lesson by introducing some educational videos on the animals. For example, do you know what sound a giraffe makes. I didn’t either until I looked it up! A short animal documentary can help children build up their own ideas about the habitats that they are creating. Technology does not need to replace the educational aspect and frankly I don’t think it can replace the education that takes place with this activity. However, technology can supplement the lesson that you are trying to engage your child in.
Thank you all for taking the time to read my post! How did your habitats turn out? Did you create an elaborate detailed structure? Did your child create a simple, but effective structure? Were they justifying their reasoning? Were you able to discuss the aspects that when into the habitat with your child? Feel free to tell me all about your experience below!
