
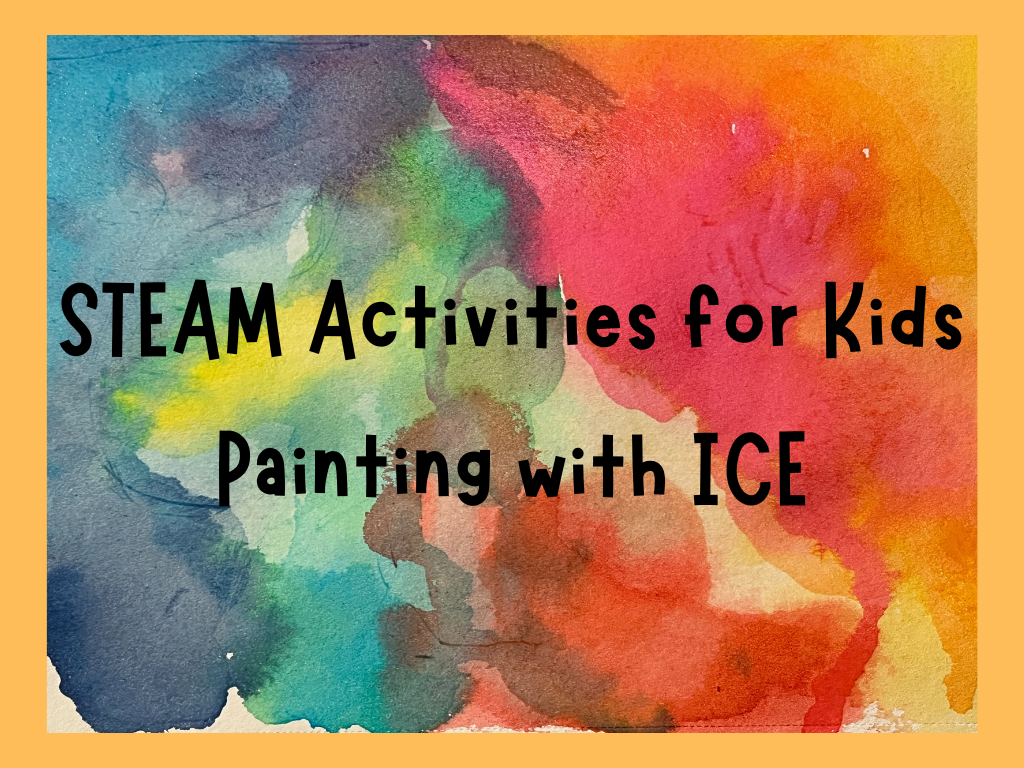
I love winter! I love the cold. I love the snow! One of my favorite books explains why I love the snow and I love seeing a winter day through a child’s point of view. I could get into the laws of thermodynamics, but we all know you aren’t here for that, so I’ll skip it! I love watching a child explore melting ice. Evie loves to hold it in her hand, suck on the ice, and then wipe the ice all across a table, floor or wall. This actually had me thinking…”at least its not a marker”. But then the lightbulb went off! It could be a marker…thus the idea of Ice Painting was created and our next STEAM activity was born.
A topic that a child should be aware of in science is the states of matter. I’m not saying that they need to know all the mathematical equations and how to calculate the energy at each stage; however, they should know when ice gets warm or sits in the sun, it melts. When ice melts it turns to water. We see examples of this in our day to day lives. Ice in a drink disappears. A popsicle melts. More and more grass will peek out from underneath the snow. The key to helping a child unlock this understanding is being intentional with this concept.
One of my favorite ways to demonstrate this concept with children is ice painting! Those the experience may seem simple; a child can learn a lot from this experiment. The best part is that it doesn’t require a lot of materials!
This experiment is not only a great way to intentionally introduce different properties of matter, but it also a low prep activity you can do at home!
Materials for your STEAM project:
This post may contain affiliate links, which means I’ll receive a commission if you purchase through my links, at no extra cost to you. Please read full disclosure for more information.
- Paper
- Ice cube tray
- Water
- Paint or food coloring
- Toothpicks or craft sticks (optional)
This experiment is not only a great way to intentionally introduce different properties of matter, but it also a low prep activity you can do at home!
To Do Our Painting STEAM Activity:
- Place water into ice cube trays
Here is where you can have some fun with this activity. What kind of silicone molds do you have at the house? You can turn a plain ice cube into a cactus or unicorn. You can add an additional educational layer into this activity with different shape molds! This isn’t a necessity though! I’m using a mini muffin tin. I selected this because it will be easier for Evie to hold. Ice is cold and slippery; a small round ice cube wouldn’t be the easiest for her to use at this stage. I recommend selecting a tray that works best with your child or use what you already have in your home!
- Add food coloring or paint
There are a couple of ways to create color ice. Personally, I always have food coloring on hand, and it is taste safe…Evie is still putting everything in her mouth, so I normally opt for taste safe options. However, adding a water-based paint is also a great choice. Oil-based paints will not work, so please make sure you check the label. Another pro tip, you are diluting colored paint by adding it to water, especially when you are working with food coloring. The less food coloring you add, the more translucent your paint will be. If you want a darker color, use more food coloring!
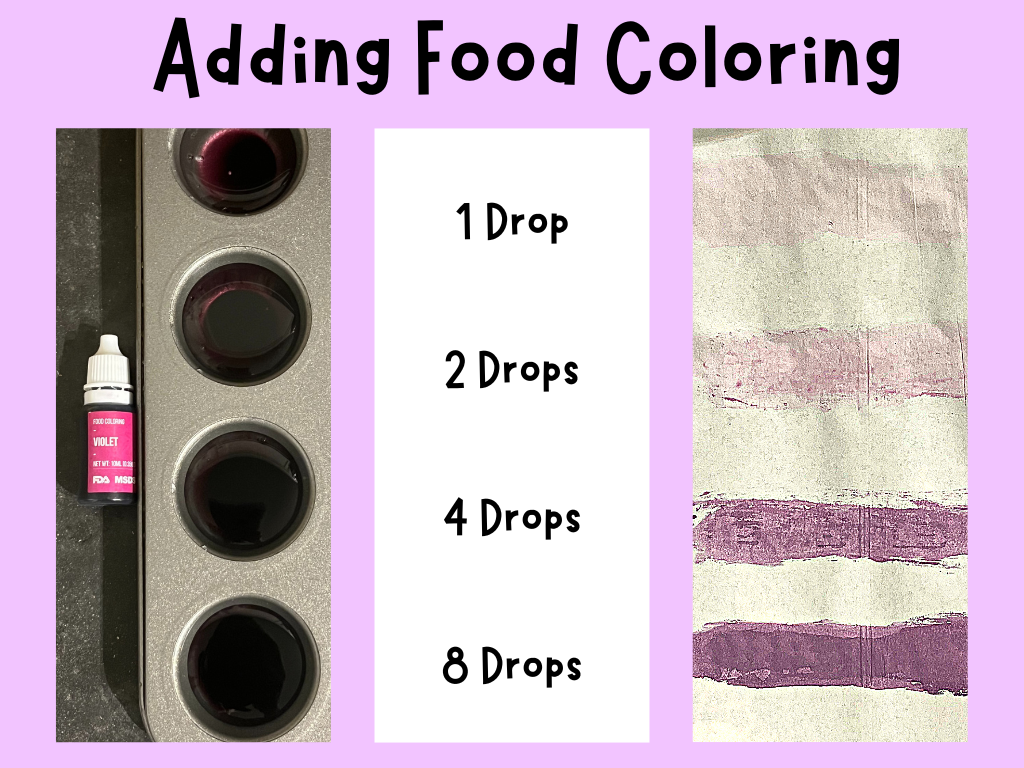
REMEMBER: Stir well! The food coloring will sink to the bottom of the tin and your painting will appear darker and then the colors will progressively get lighter the more the ice melts!
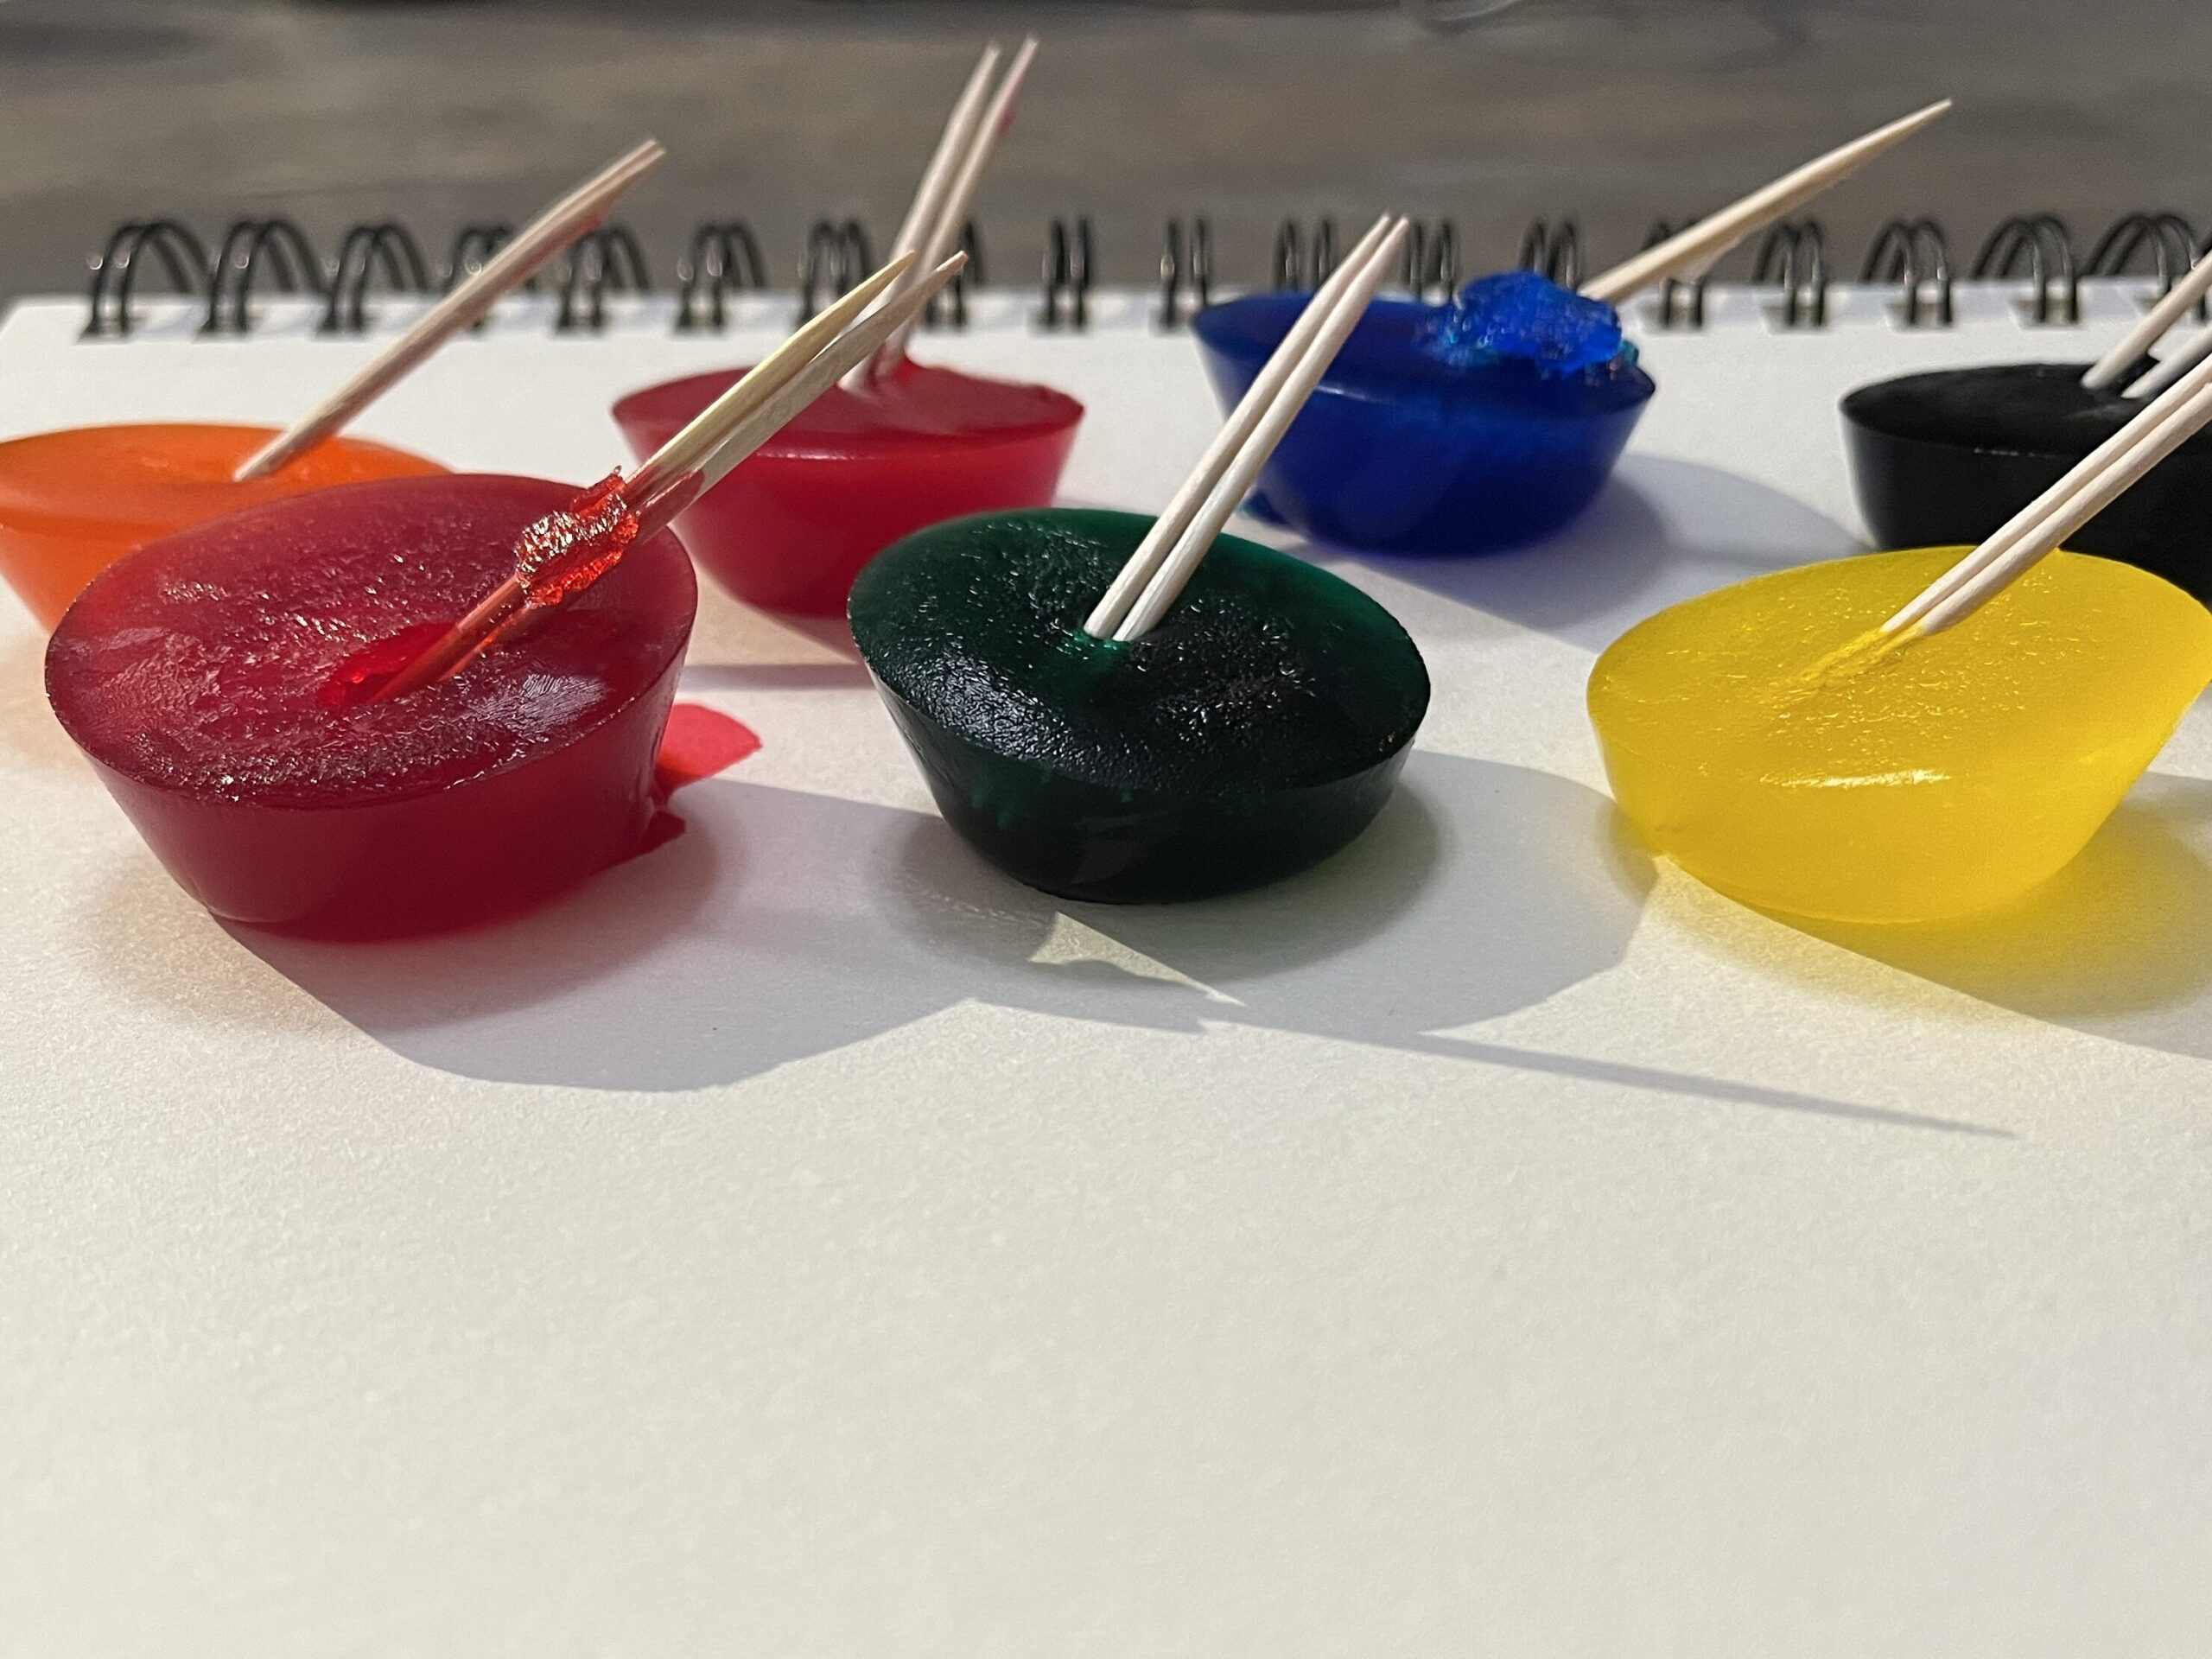
- Add craft sticks or toothpicks (optional)
So, this step is not one you need to do. In fact, if you want to add a sensory element, I encourage you not to do it! Having your child paint with only the ice cube will allow them to experience the cold sensation on their fingers. It can prompt conversations about how it feels and how it feels different after it melts. HOWEVER, your child’s fingers will get dirty. The craft sticks, or toothpicks, will allow your child to practice their pinching, and minimizes messy fingers. This is also a great opportunity for your child to develop pincher muscles in their hands, which will prepare them for handwriting later on.
- Pop out the ice cubes
Pro tip! Pull your tray out of the freezer and let it sit at room temperature for a minute or two. This will let it start melting and make it easier to remove (especially from a muffin tin)! My first time with this experiment, I tried to yank the ice right out of the tray and the only thing that happened was I broke the toothpicks off! After a minute or two and a good twist, the ice cubes will pop right out of a muffin tin!
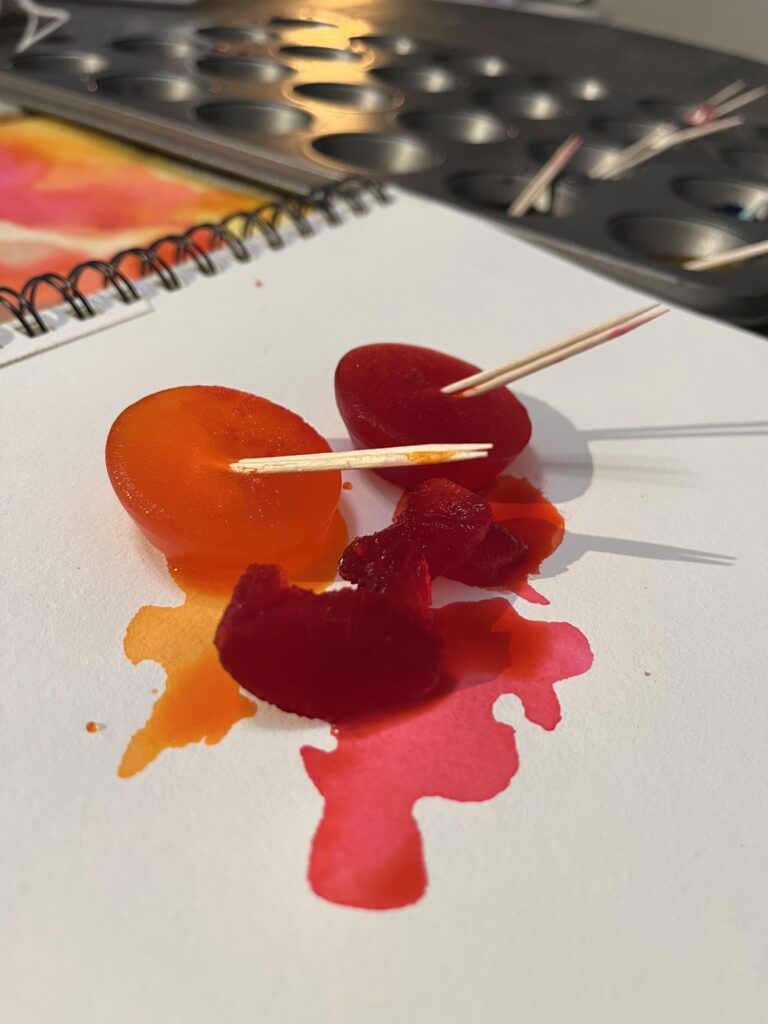
- Paint!
This is where the integration of art comes into this science lesson! Here we are engaging a child in a science lesson and an art project! This allows a child to be creative and still learn the properties of matter. A child is learning how it feels. How ice looks when melting. They learn what happens when you move the colored melting ice around a paper. They are creating a piece of art based on the physical properties of water. They learn if the ice is melting quick or slow. You can engage them by asking them questions! Does the ice melt faster in a colder room or hotter room? When we are done, what happens to the ice? Do they feel the same after the ice melts? How does It feel different? Pro Tip! Depending on how much ice paint you are planning on using, you might want to consider a thicker paper. A thin paper will become soaked quickly! Depending on if you want to preserve the colors and art you child is creating, you may consider a watercolor paper. This paper will help keep your child’s colors from blending together and creating a soaked brown/gray piece of paper.
Integration Methods for Your STEAM Activity
This activity is one that combines art and science into a fun, creative and messy activity that your child will love! Some of the things you can observe during this activity is how your child will explore the physical properties of water and ice. Maybe your child will draw the connection between this activity and a melting popsicle. Does he or she noticed the changes in the paper as they are painting? All of these are observations and investigative skills that is a part of science! For this activity, older children can explore mixing colors and how they change when they combine through the melting ice. This is integrating art into the activity! It is so important to engage with your child during the activity. Even a child that is still developing language skills will communicate and think about the questions you ask them. They will experiment with different colors. They may even forgo the ice and move the water on the paper. These are all signs that they are making connections and that they are learning about the properties of matter.
Encourage Curiosity!
Children are curious by nature. They explore their world around them and pick up on EVERYTHING! This investigative nature is one of the reasons that I love working with children! They are natural born scientists, artists, and engineers!
How did your painting STEAM activity go!?! Feel free to leave a comment, share a picture of your child’s masterpiece, leave feedback or suggestions! I would love to know how it went for you and your little scientist!
[…] If you don’t have watercolors on hand, that’s okay! You can make your own! Check out my post on ice painting to see how. It is just as simple as this […]