I love the rainy season. I love the smell of rain, and I absolutely love seeing rainbows afterwards. I know I’m not the only one! Seeing a rainbow will completely immobilize my class for at least two minutes. That might not seem like a lot, but trust me, it is! Learning about light and different colors are something that children love! One of my student’s favorite things to do is turn off the lights, get the flashlight and play with shadow puppets! Exploring this line between opaque and transparent is an activity that can create a ton of fun games and experiments. The combination of light, opaque and transparent objects, creates an activity that is captivating for children and seemingly magical, at that was the inspiration for this colorful STEAM activity!
STEAM Integration
Science: The Disappearing Lines
Visible light makes up a super tiny part of the electromagnetic spectrum. Each color that is visible on the spectrum represents a different energy level. The violet end of the spectrum contains the most energy, while the red end of the spectrum contains the least. All of the colors of the rainbow make up what we call white light.
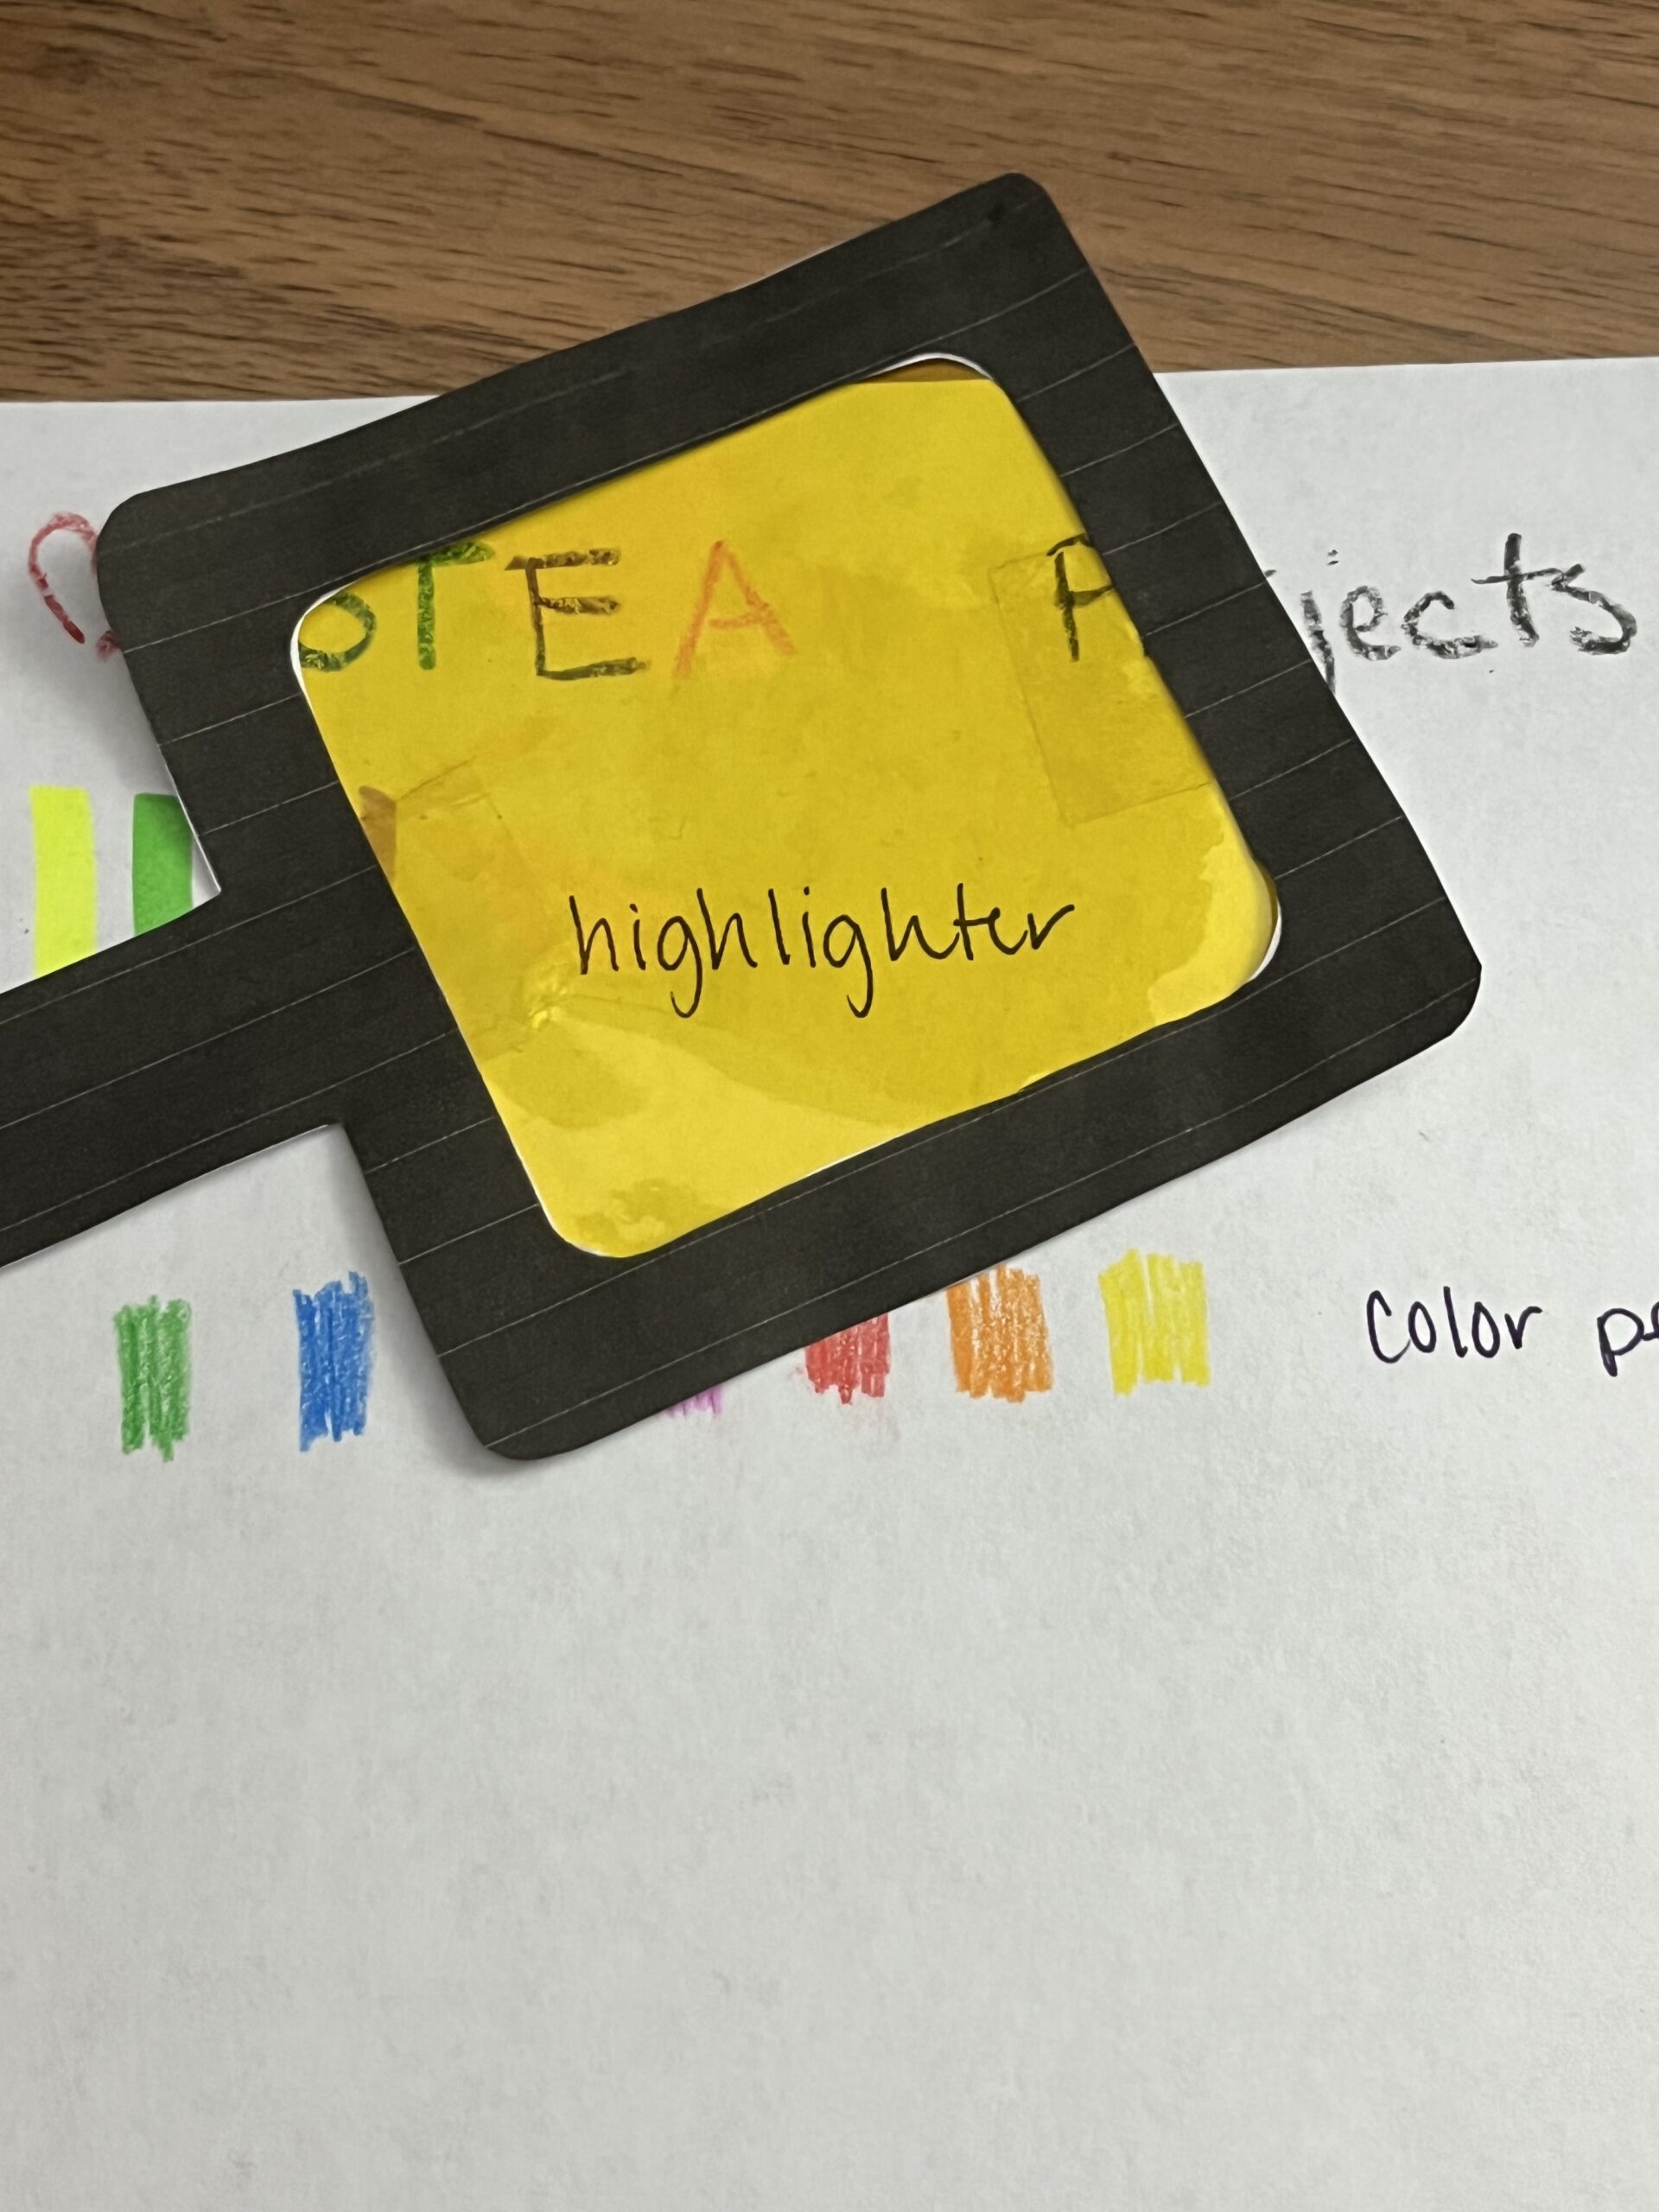
Now the science behind this is a little more complicated than what a preschool child or toddler needs to know! It’s a lot of talk about opposites being absorbed and other being transmitted. We can save that sort of talk for middle school or high school science! Right now, we can demonstrate how yellow marker under yellow cellophane will appear to disappear! The yellow marker is already yellow, the yellow color paddle will make everything appear yellow. Since the yellow marker is already yellow, it will make it seem like the marks disappears!
During this part of this colorful STEAM activity, I like to discuss how somethings create shadows and other things do not. The objects that create shadows are called opaque objects because light does not shine through them. Transparent objects all light to pass through them, so they do not create shadows. We can see through the cellophane and light will pass through it, so therefore it is a transparent object.
Allow your child to explore the color paddle. Allow them to look through it. Create more than one paddle and let your child combine paddles to see different colors! Ask them what colors they see and what happens when they look through the paddle!
An important part of science is making observations, and your child will make plenty here!
Art
Art is integrated into this activity when your child starts to experiment with different colors. Does he or she combine two color paddles to make a new color. Does your child observe different colors on their drawing through the paddle?
I love introducing the color wheel to children at this point in this colorful STEAM activity.
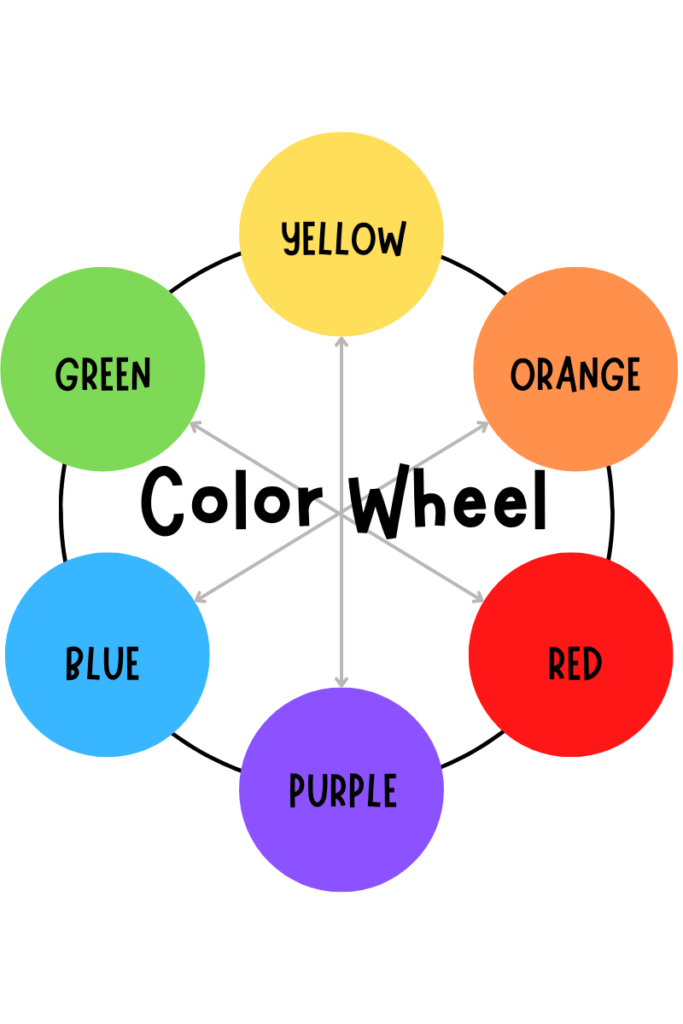
Colors on the opposite side of the wheel are complimentary. Your primary colors, colors that cannot be created by being mixed are red, yellow, and blue. Secondary colors, orange, green, and purple are colors that are created by mixing two primary colors. Your child will be able to witness this when he or she layers two primary color paddles on top of each other!
You can help guide your child two this discovery by asking them questions such as, “what do you think would happen if you used ____ instead of _____?”, “what would happen if you combined _____ and _____”.
Since you are already talking about colors here, try introducing a second language! I incorporate English and Spanish into my classroom. Children are always so excited to show off their knowledge of each color.
Things you may need:
This post may contain affiliate links, which means I’ll receive a commission if you purchase through my links, at no extra cost to you. Please read full disclosure for more information.
- Free Color paddle printable
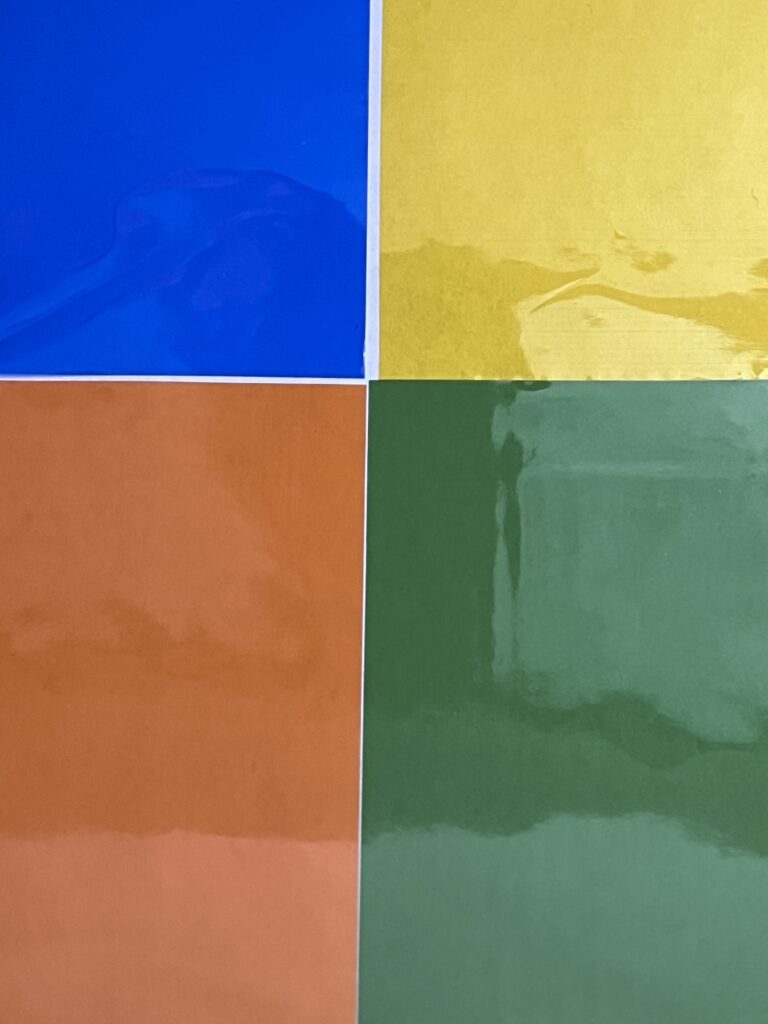
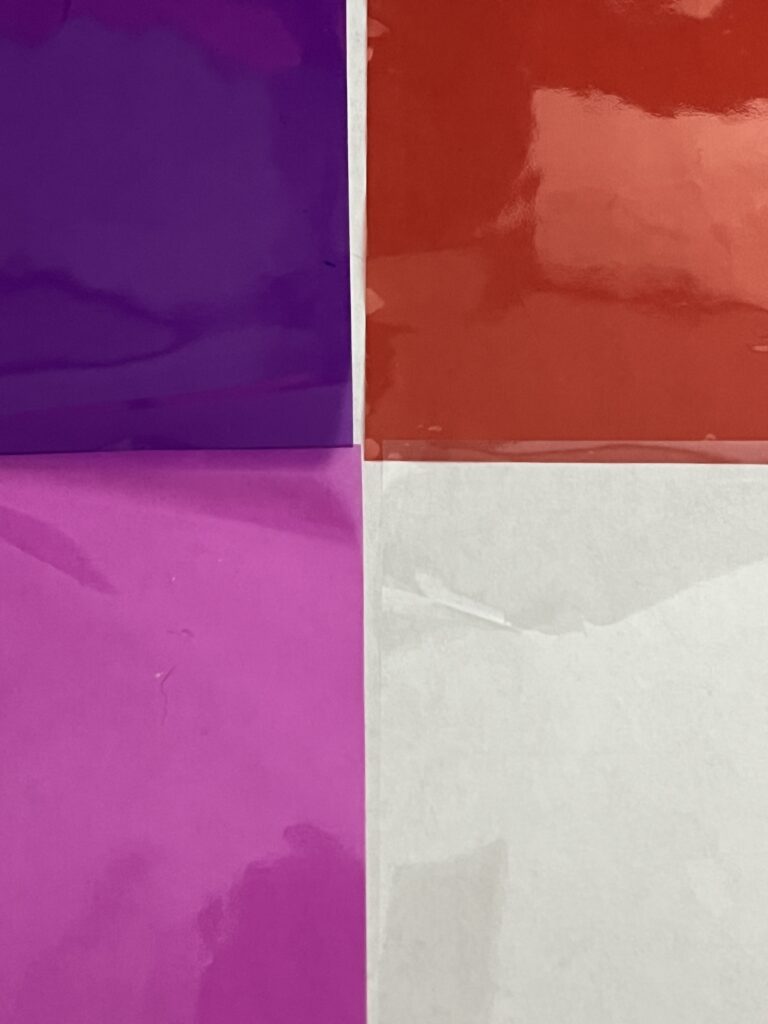
- Cellophane – the pack the I bought comes with blue, yellow, orange, green, purple, pink, and clear
- There are some many uses for these! Check out another STEAM Activity that also use this same cellophane!
- Markers/Crayons/Color Pencils
- Paper
Start Exploring!
What do you see your child doing? Prompt your child to describe the colors they see, or don’t see, when using the paddles. Make sure you use lots of colors when you are creating your artwork that you are going to explore with the color paddle. Here is my paper that I created for this colorful STEAM activity:
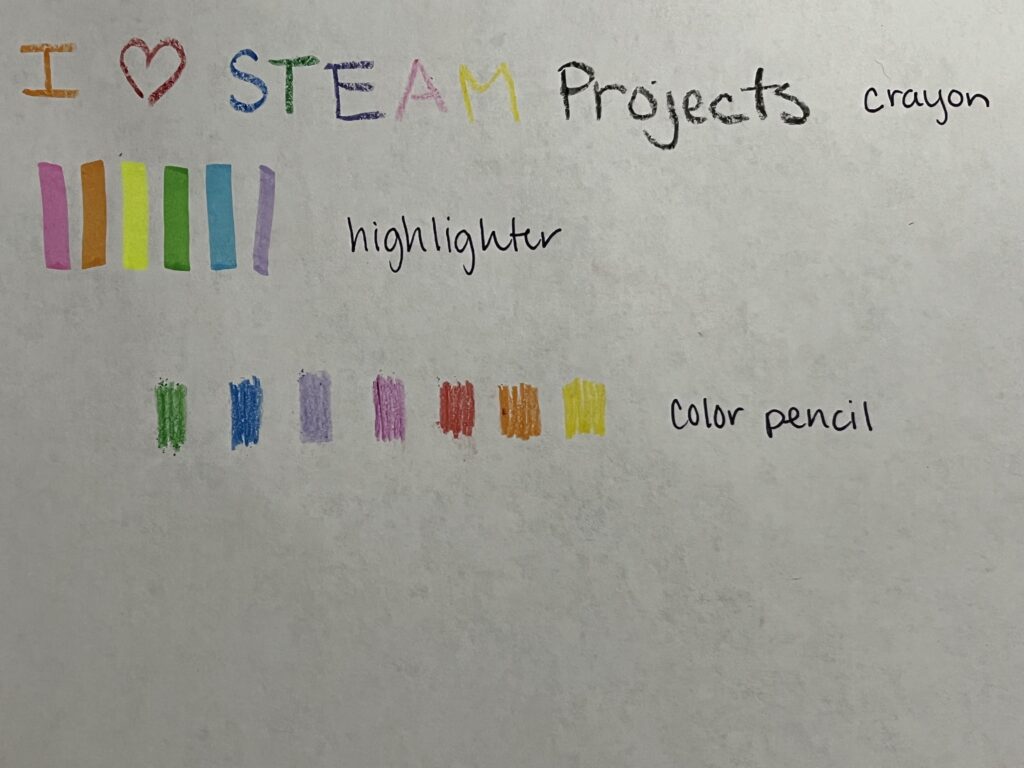
I wanted to experiment with crayon, highlighter, and color pencils, so I tested all three writing utensils with the color paddle.
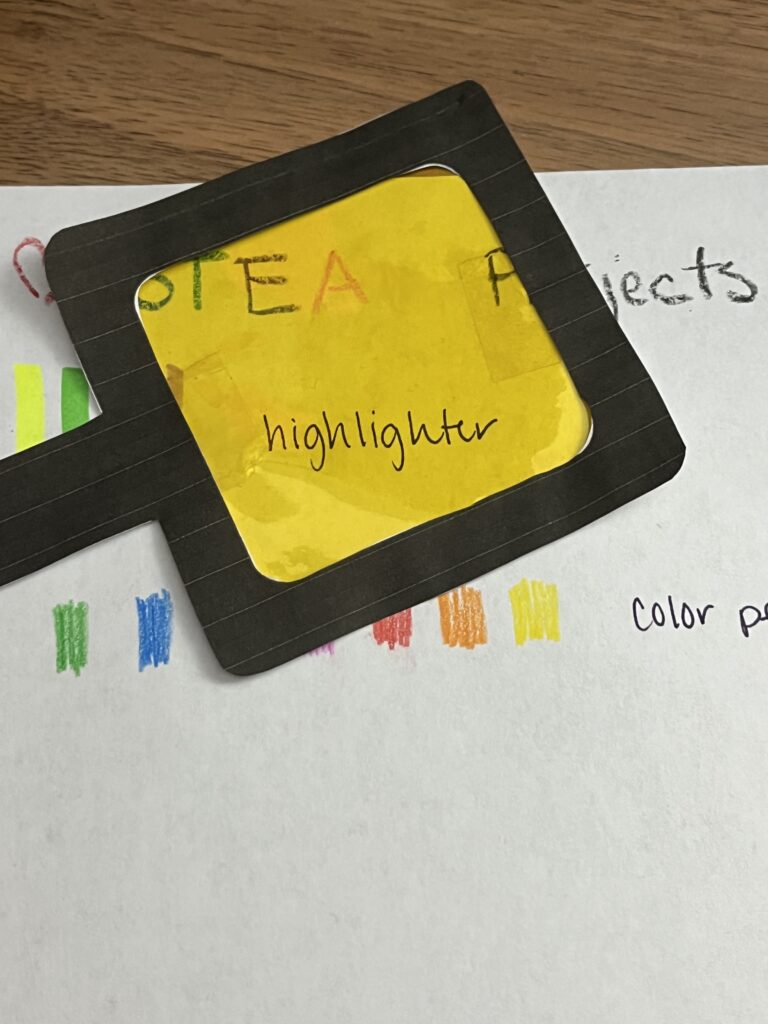
Some things to keep in mind, the color cellophane works much better when the color you are using is as similar as possible. When you are using the 120-color crayon set, it might get a little more difficult to find the right color to make it disappear completely! On the other hand, with older children, you can turn it into an experiment. Which crayon will disappear completely? Remember, any good experiment always starts with a question!
I’m about to give you an alternative that actually adds more work to your plate…but it is totally worth it! Print multiple color paddles. Laminate the paddles and cut out the center of the paddle. Tape the cellophane to the paddle. Laminating the paddles will make it 100x more durable. The computer paper alone tends to be floppier, and if you have small hands working with it, the color paddle will likely get torn.
When you laminate the paddles:
- They hold together better
- They give a firmer grip for your child
- They are easier to remove cellophane from
- They can be used over and over!
Encourage your child to describe what they are seeing. Introduce new vocabulary words to them, such as transparent and opaque. Allow them to observe their world through a different filter…HA! Terrible joke. I’m done, I promise.
There are a couple simple steps:
- Print and cut out color paddle printable. Pro Tip – If you want a long lasting, durable paddle that you won’t have to reprint, I recommend laminating it and cutting out the center of the paddle!
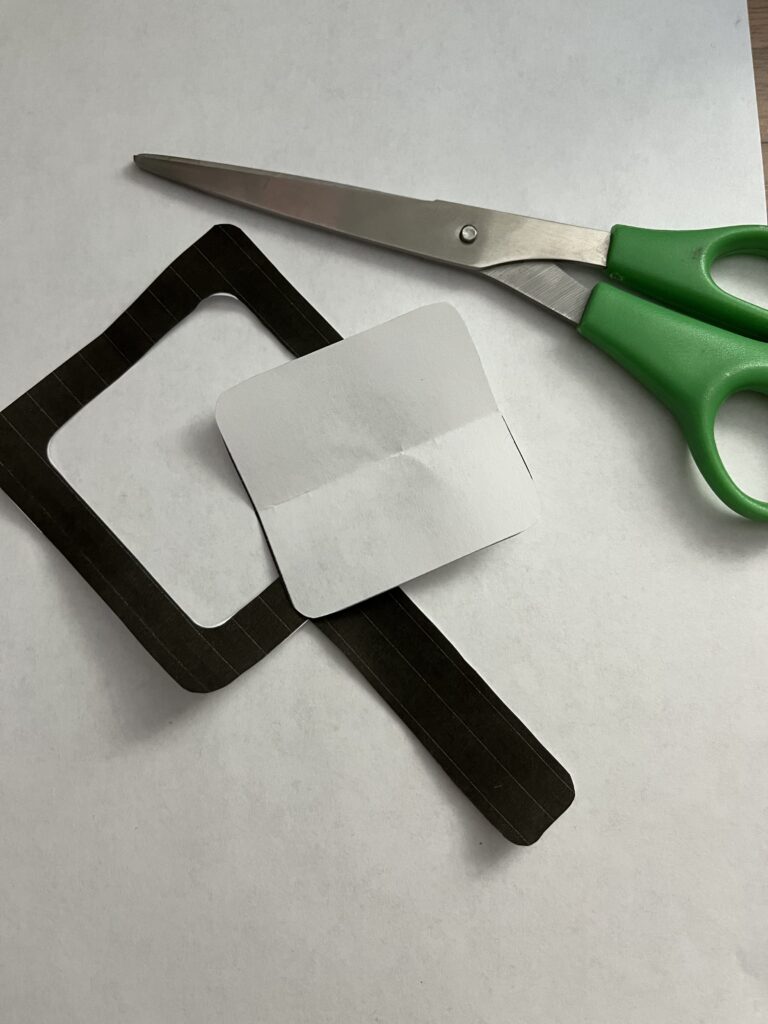
- Cut color cellophane into correct size
- Have your child draw a picture with their favorite markers, crayons, or color pencils (I prefer crayons)
- Wave the color paddle over the drawing. Notice the colors and what appears and what doesn’t appear when viewing through the paddle.
That’s it! This activity requires a little bit of prep work, but it is super simple, not messy, and will engage your child as they watch colors magically disappear through their color paddle! If I were you, I would save these paddles, or at least save the printable…there may be more fun light experiments to come!
Thank you for reading! How did your experiment go? What color combinations did your child explore? Which color was their favorite? I love hearing your stories about your child’s discoveries! Please feel free to share in the comments below!
