Starting this DIY STEAM activity came from the most unlikely of places…the bathroom! Eww. I know. But here me out, it’s not what it sounds like! I was actually pouring water for my daughter from one cup into another cup and letting the water fall out of the second cup into the bathtub.
Evie is fascinated by this movement. She enjoys seeing the water fall and she loves to see what will happen when she disrupts that waterflow by sticking her hands in the middle. Let me tell you what, those cups get heavy after a while!
This post may contain affiliate links, which means I’ll receive a commission if you purchase through my links, at no extra cost to you. Please read full disclosure for more information.
I have a secret…I have a small Amazon buying habit…a teeny tiny one. So, one day while diving deep into the rabbit hole of Amazon, I found a silicone ‘pipe’ system for the bathtub. Evie could pour her own water down into the pipes and flasks, and my poor arms would get a break…win-win!

Anyways, it got me thinking about movement and creating a pipe system that allows a ball to move down and change directions. This activity is a great way to engage your child in a game but also teach them valuable problem solving skills!
STEAM Integration
Engineering
This activity can be a simple DIY STEAM activity for smaller children, and you can make it as complicated as you would like for older children!
At 18-months, Evie is more than satisfied with one ‘pipe’ and rolling a ball down the pipe. She loves using her senses to hear the ball roll and see the ball emerge. She experiments with different angles. Sometimes she will hold is straight up. Sometimes she will try to put the ball in from the bottom, only to have it fall right back out. Sometimes she would hold the pipe flat, and the ball wouldn’t go anywhere. Allowing her to create the pipe ‘structure’ helps her work through all the concept of motion, even though she may not be able to see it. It worked on a similar level to the car ramp in my post Launching Cars. Expect this time, she wouldn’t see the cars.
For an older child, I would recommend encouraging them to create at least a two or three pipe structure. This will demonstrate how the ball can change direction. In one of my pipes, I cut a hole in the top, so that the ball could drop into the pip and keep rolling. This is a great way to introduce a science element. Not only are they creating a working pipe structure, but they are also experimenting with different momentums and launch angles to create a continuously rolling ball. Calculating launch angles and different momentums were probably a solid two-week lesson in high school physics. Obviously, you do not have the start introducing mathematical equations and angle calculations with your child. However, they are being exposed to real world applications of it and all they are doing is having fun while doing it!
Math
For this activity, grab multiple balls. Count them before sticking them into the pipes. Try to create spacing between each ball release and when all the balls are collected at the end, count them again! The pipe systems are closed. Your child can’t see where the balls are going. They will be able to reason that they must be moving the pipes and they must be changing direction because the balls in the bowl at the end. Reinforce that all the balls came out of the pipes by counting them again at the end. This is such great counting practice. According to a preschool benchmark, a 3–4-year-old child should be able to count objects up to ten! That means you can add a whole bunch of balls to help them practice!
Things you may need:
- Pipe
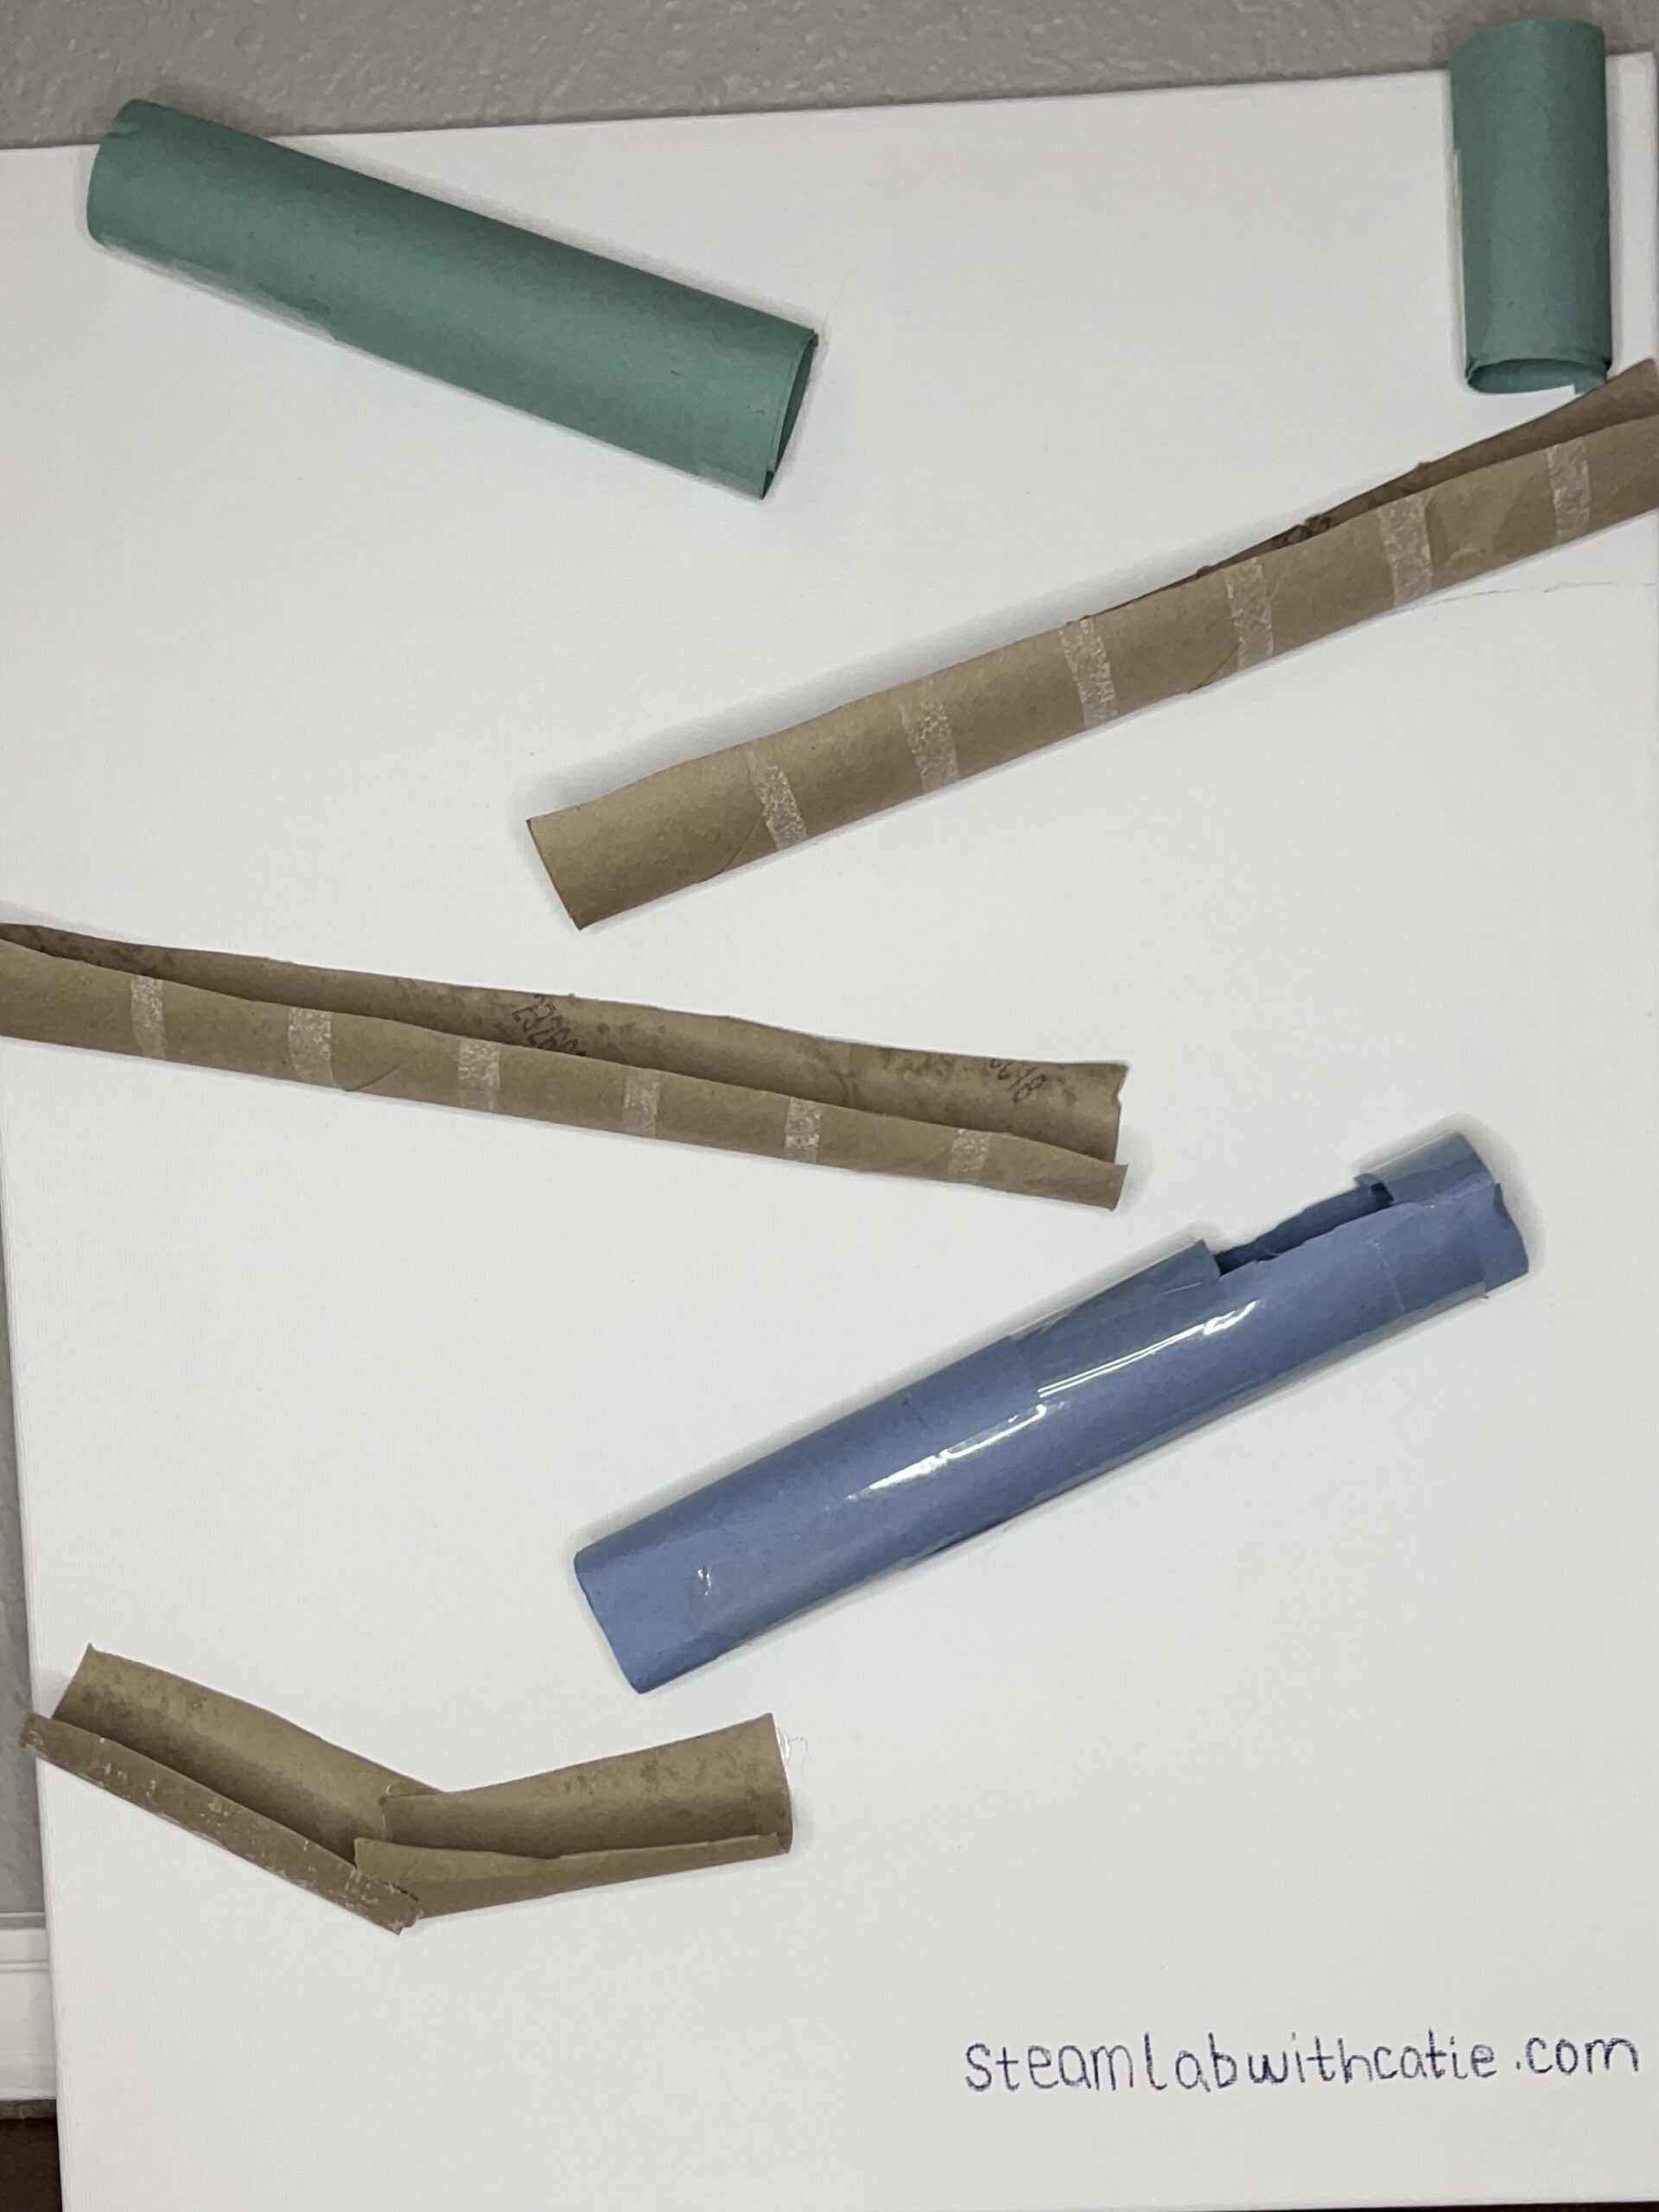
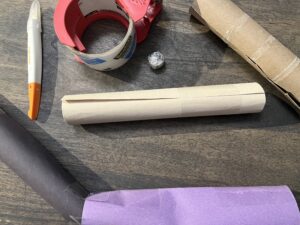
- For this activity you can use different materials for pipes. You are more than welcome to PVC pipe or other pipe materials if you have that laying around. I do not. I used a combination of paper towel tubes, a vinyl roll tube, and construction paper.
- Ball
- For this activity, I used aluminum foil to create my own ball. I balled it up, took it outside and rubbed in on the concrete to smooth it down. You can use any ball that you have through, as long as it fits through the pipe system easily.
- Tape
- I used a combination between painter’s tape and packing tape. I used the painter’s tape to attach the pips to the wall. I used the packing tape to hold my pipe system together.
That’s it! This DIY STEAM activity can be done with simple materials you have around your house!
Pro Tip #1 – if you decide to go to the paper towel/vinyl roll route, which is how I started before changed directions, painter’s tape is NOT enough to hold it to a vertical surface. These tubes are too heavy, particularly the vinyl roll. You would need a stronger binding agent. Duct tape would probably work, but I wasn’t going to put that on my walls, and it isn’t the easiest to move the pipes around.
Pro Tip #2 – choose your ball carefully, the heavier the ball the stronger your pipe system will need to be and the stronger your tape or binding agent will need to be. If you use a rubber bouncy ball, construction paper will not be strong enough to support that ball and your pipe will break. You will also need something stronger to hold your piping.
My preferred combination of materials is packing tape, construction paper, and an aluminum ball. Everything light weight and easy for a smaller child to explore with on their own.
Start Exploring!
When you first start this activity, there will be some trial and error. A child will need to experiment with different angel and different distances for their tubing. You may need to take a more active role in this experiment, but remember, the only thing a child will learn if you do something for them, is that you are better at doing it. Talk to them, ask them what they see or observe. Solve one ball rolling problem at a time. In they become stumped, give them a couple ideas of what might work and let them choose. Ask them why they choose that option and see if they can explain their reasoning. Logic and reasoning are great skills to work on for this activity!
If you have multiple options for pipes and balls, ask them what they think might work best. Allow them to play with the different combinations. Ask them to what they think will work best. Encourage your child to talk through their problems, and work together to solve a problem. Your child can work with friends and create a system together! This is a great opportunity to build teamwork and communication skills!
Keep encouraging your child to try different combinations. Observe if they stop after coming up to a challenge. Problem solving is another skill a child could practice during this DIY STEAM activity!
There are a couple simple steps:
- Create your pipes. I used construction paper, rolled them up to create a hollow center, taped them so that they could keep their shape. I made this activity more challenging by cutting a hole in the top of one of the pipes. For my structure the ball would drop into that hole and keep rolling.
- Gather your ball. I used aluminum foil. I balled it up and smoothed it out so that it would roll easily.
- Start with one pipe. Show how the ball rolls through one pipe.
- Grab a second pipe, connect the two together, and show how the ball moves through the pipe.
- Attach the pipe structure to a vertical board or wall.
- Allow your child to drop the ball through the pipe structure.
- Continue to add more and more pipes for a more complex pipe structure.
That’s it! This activity can be as simple as one pipe and one ball. This DIY STEAM activity can get as complicated as you could like it. It can have twenty pipes and ten balls! The important part is to have fun, and work through problems as they appear! Thank you so much for reading my post! I hope that you were able to come up with some exciting new ideas to try with your child! Have you already tried this experiment? How did it go? Feel free to share your story or picture!