I have been on the hunt for a Valentine’s Day activity for kids. A craft that we do every couple of months in my class is creating a suncatcher! Creating a suncatcher is a classroom favorite! The children love using colored tissue paper or cellophane to create a beautiful artwork that we hang in our window! The light in the classroom doesn’t shine through our window until the afternoon, but after nap time when the sun is at the right angle, they catch the light, and the room fills with color! I won’t lie, I still have the Christmas themed ones hanging in our windows and frankly, it’s time for an upgrade! This activity is one of my favorites because we can talk about mixing colors, light, the sun, and shadows!
My class and I are planning to make Valentine’s Day cards for people at our local hospital, with a couple other classes in the school. I have been looking and trying to think of a couple different activities we could do and different cards we could create. Right now, I am thinking a sun catcher would be a beautiful card! Before I tackled this project with my class, I decided to try a couple different samples at home. And of course, Evie decided she would like to help too!
Things you will need:
Before you start, gather everything you will need. Here is what I used!
- Heart Printable. I created two different hearts for you to choose from. These are free printables for you to use! You can use these three different ways:
- Geometric Heart. This heart takes less time to cut out, probably 5-10 minutes depending on how fast you are with an exacto knife.
- Heart filled with heart. This pattern takes probably 30 minutes to cut out if you want to take your time and really get all the details. The lines are a little smaller in this one and it can rip if you are moving quickly.
- Black Heart silhouette. You don’t have to even mess with the patterns on the inside. You can just cut around the big heart! For the Valentine’s Days cards, I plan on doing this and placing a cute quote about light on the inside!
- Exacto Knife. You could use scissors. I find it 100x easier to use an exacto knife. I use my at least three times a week. I would highly recommend it.
- Cellophane or tissue paper. I bought a package of tissue paper for this activity. It was all different shades of pink and I thought: HOW PERFECT! I also had some cellophane on hand. Before doing this activity with my class, I decided I wanted to test out both options to see if one looked better than another. I have to say, I LOVE the cellophane heart! I feel like the colors are more vibrant, but I would probably stick with the tissue paper for an entire class, for cost reasons.
- Clear contact paper. I used the contact paper to stick heart designs and colored paper to together. I placed a piece on the front and the back to keep everything together.

A word of caution: the contact paper is a lot like laminating. If you cut out your hearts without two layers of contact paper firmly stuck together, the tissue paper or cellophane may cause the contact paper to peel apart if the tissue paper and cellophane are layered like Evie’s was. To reduce the risk of heart peeling apart, I made sure that some parts of the heart were single layered with tissue paper. This allows for the contact paper to stick firmly to the heart.

Get Creating!
I love this Valentine’s Day activity for kids because it is so easy to do! There is a little prep work, especially if you are prepping for an entire class. Personally, I think the more complex heart with lots of hearts on the inside turned out the best. Will I do it for my whole class? Probably not. During my test run, I did all the prep work while Evie was taking her afternoon nap. This is the time that I printed out the hearts, cut them out, torn up tissue paper, cut up cellophane and cut out the correct size for the contact paper.
Knowing Evie, I know that the heart with lots of hearts on the inside would get ripped quickly. So I decided to do it during her nap time too. I did all of this prep work and the activity during her nap with lots of time to spare.
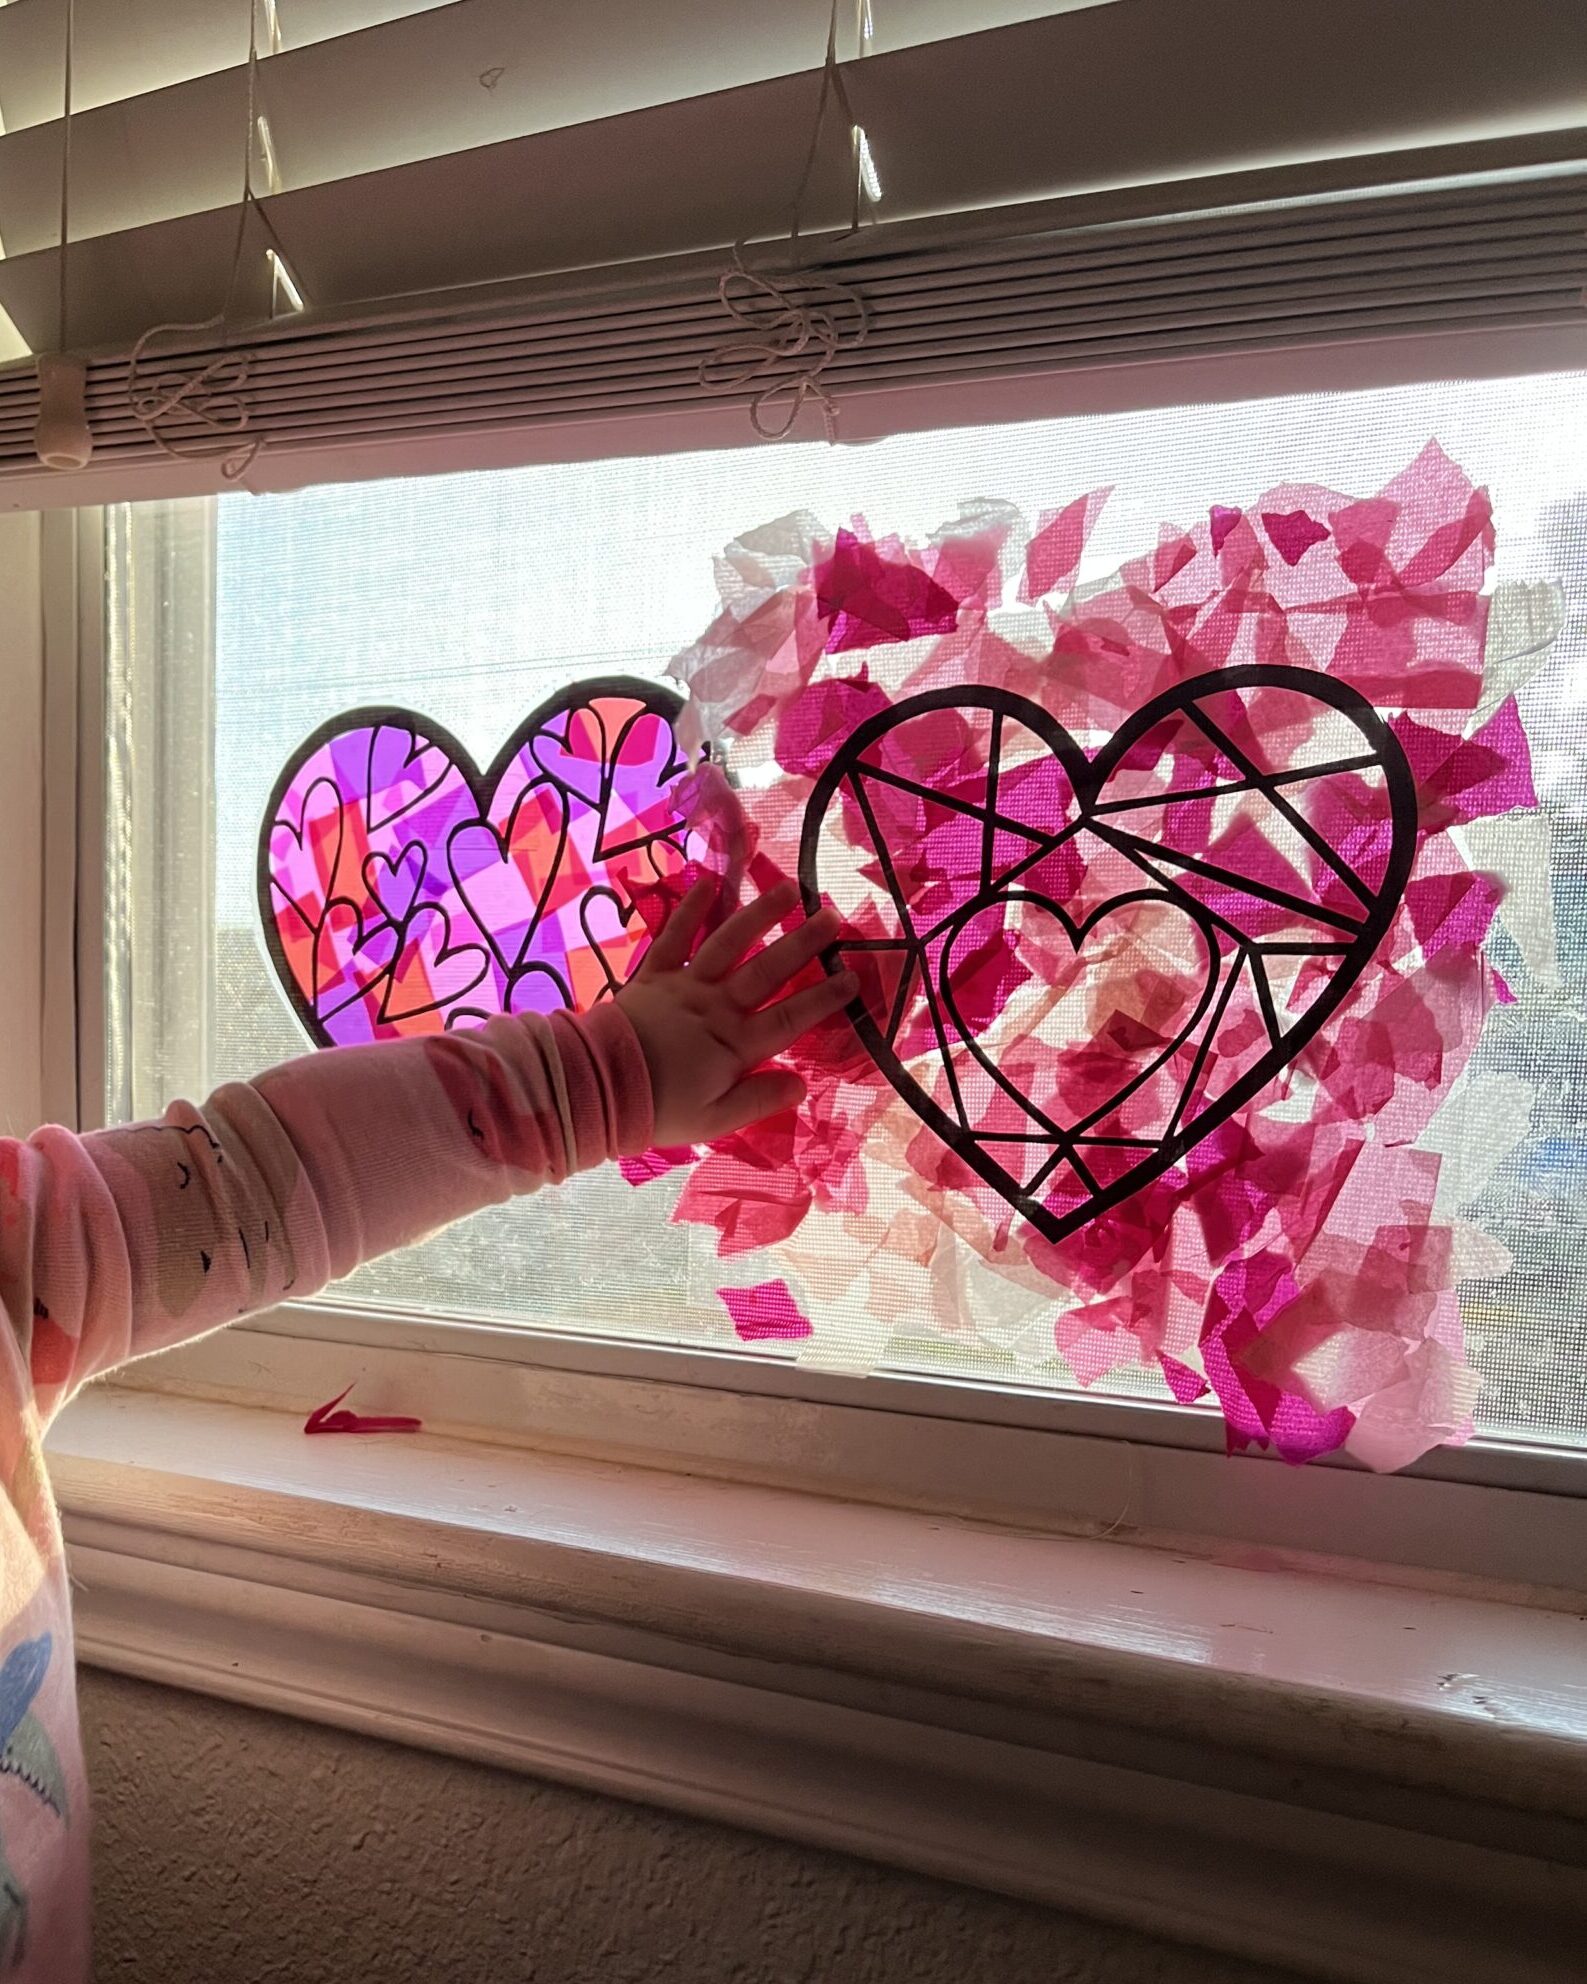
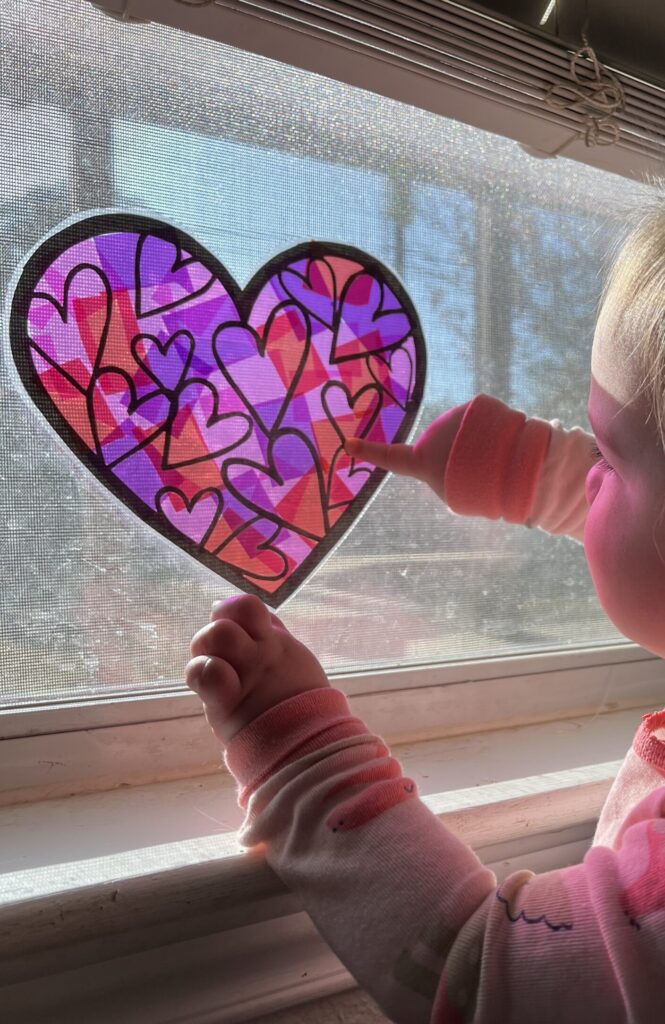
Evie woke up and I already had the heart hanging in our window. The light was coming in the window perfectly at the time and she had so much fun tracing it. I honestly did not expect her to trace the different hearts, but she definitely did! I took the opportunity to talk with her about light and shadows. We talked about the colors and mixing colors. When she would point to a specific color of cellophane, we would talk about that color. She was playing with this for at least 10 minutes.
When she finished her time tracing the hearts, she was ready to make her own! I can honestly say that she used handfuls of tissue paper to create hers. She would take handfuls out of the bowl and throw it on. She loved to feel how sticky the contact paper was, and she loved the feeling of the tissue paper. We had extra tissue paper left over, so naturally we ended up throwing it around and making it rain pretty colors. The clean-up was completely worth it!
STEAM Integration
Art
This Valentine’s Day activity for kids truly allows your child to get creative! I love the freedom this project has. At 3 years old, a child should be showing signs of making artistic choices. Selecting colors they like or starting to make designs.
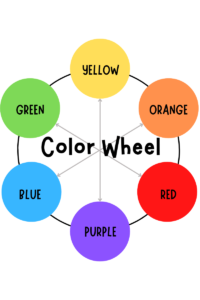
This project is a fun one for mixing colors too! Allow your child to layer the cellophane and see what colors they can observe. Can your child identify the colors? If they can identify the colors introduce the Spanish name or in any other language you choose! Use the color wheel to introduce new vocabulary to them. Identify the primary colors, and secondary colors. Introduce vocabulary like tints, tones, shades, and hues!
Science
This Valentine’s Day activity for kids is a great way to introduce the concepts of light and shadows to your child. As they explore the suncatcher in the light, they will see how the cellophane is translucent and the black silhouette is opaque.
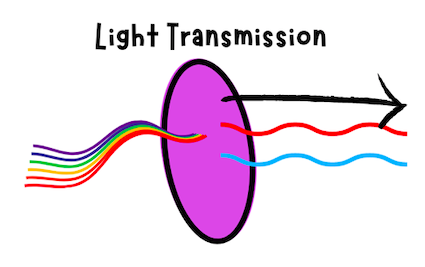
Your child will be able to see how the light appears to change color on the walls or floor after the sun passes through the sun catcher. You can use this opportunity to discuss how light can pass through filters and limit the visible light we see. A color filter will absorb different wavelengths, or colors, and transmit the color that you see. For example, when you wear sunglasses, maybe you have a rose-tinted pair, everything will look slightly pinker than what it looks like without the glasses on.
How was your Valentine’s Day activity for kids? Did you make any modification? How did your child interact with the contact paper? I love hearing how your activity went so please feel free to leave a comment! Thank you so much for reading!