Well spring is in the air! With spring comes EASTER! Easter is one of my favorite holidays. With these 3 simple methods, I get to include my daughter in some fun Easter activities that I hope to make traditions in our household. Dyeing Easter eggs was always something that we looked forward to as children and now I get to share that experience with my own daughter.
While contemplating how we were going to dye these eggs, I thought of all the possible things that could go wrong:
- Evie spills the dyeing liquid and stains her clothes
- Evie drinks the dyeing liquid and runs around with a blue mouth for a week
- Evie decides to tie dye the dogs
- Evie decides to tie dye mom
- Evie decides to tie dye herself
- The whole household walks around for a week looking like we were apart of a Holi festival…
I chewed my nails all the way down with anxiety! But yes…I am aware that my imagination probably went wild (only a little bit). However, the very really possibility of an accidental spill staining a table, chair, or flooring was the main reason I decided to explore toddler-friendly Easter Egg dyeing methods. I decided that these three were my ABSOLUTE FAVORITE!
Just a piece of advice…make sure your eggs are hard boiled and not soft boiled…my timing was off and we ended up with a little mess. The look on Evie’s face when she smashed an egg was priceless thought!
This post may contain affiliate links, which means I’ll receive a commission if you purchase through my links, at no extra cost to you. Please read full disclosure for more information.
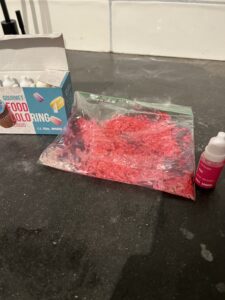
Dyeing Easter Eggs with RICE
This method was probably Evie’s favorite way to dye Easter eggs. It was so EASY and there was NO MESS! You heard me. No mess. There are a couple of things that you will need to gather for this method
Materials
- Rice
- zip baggies
- duct tape (optional)
- food coloring
- Hard boiled eggs
Procedure
- Add one to two handfuls of rice to your sandwich sized zip bag
- Add food coloring to bag. The more food coloring you use the darker the color will be.
- Add egg to the zip bag and seal
- OPTIONAL – add a strip of duct tape of over the opening of the zip bag
- Pass the bag to your toddler and have fun!

I ended up using three different bags with three different colors just to explore what would happen as we layered the colors.
Evie loved to move the egg around in the bag and she loved the feeling of the rice. She spent the most time on this particular method.
SAVE THE RICE FOR SENSORY BIN FUN!
Grandma Kate always said “waste not, want not”! Use your colored rice for a fun easter sensory bin! I find if you are planning on using rice for a sensory bin, adding a teaspoon of isopropyl alcohol (rubbing alcohol) to the bag makes the color take to the rice easier and makes it a little more vibrant!
When you are done dyeing Easter Eggs, simply lay the rice out on parchment paper to dry. Mine took an hour to dry completely!
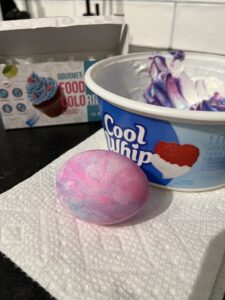
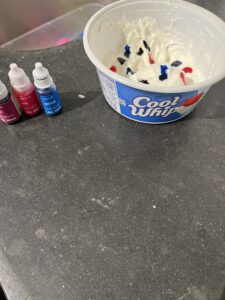
Dyeing Easter Eggs with Cool Whip
As we approach the wonderful 2’s, Evie is still in the phase of tasting just about everything she touch. If it looks like food or smells like food, Evie tastes it. So I wanted to try the shaving cream egg dyeing method, but I also didn’t want to try to prevent her from eating the shaving cream.
We settled on cool whip instead! It was prefect because I could use cool whip container for the activity and saved myself some dishes. BONUS!
Materials
- Cool Whip
- Food Coloring
- spoon/ tooth pick
- hard boiled eggs
Procedure
- Level out the cool whip so that it is flat in the container
- Add 5 – 10 drops of food coloring. The more drops you add the darker the coloring will be
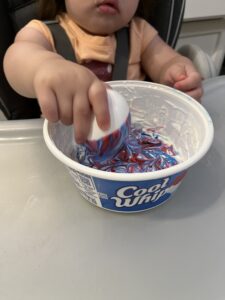
- Using a spoon or tooth pick, gently swirl the coloring around the top layer of the cool whip. You do not need to worry about getting the food coloring deep into the cool whip the coloring will cling to the egg from the surface of the cool whip.
- Roll egg in cool whip
- Pull egg out and let it rest for 1-2 minutes. This allows time for the dye to settle on the egg.
- Gently rinse the egg in cool water
This method was not one of Evie’s favorites, but it was the easiest one to do! As Evie gets older, she is starting to shy away from getting her hands dirty. I’ve learned to give the girl gloves first or we will spend more time cleaning her hands than actually doing the activities!
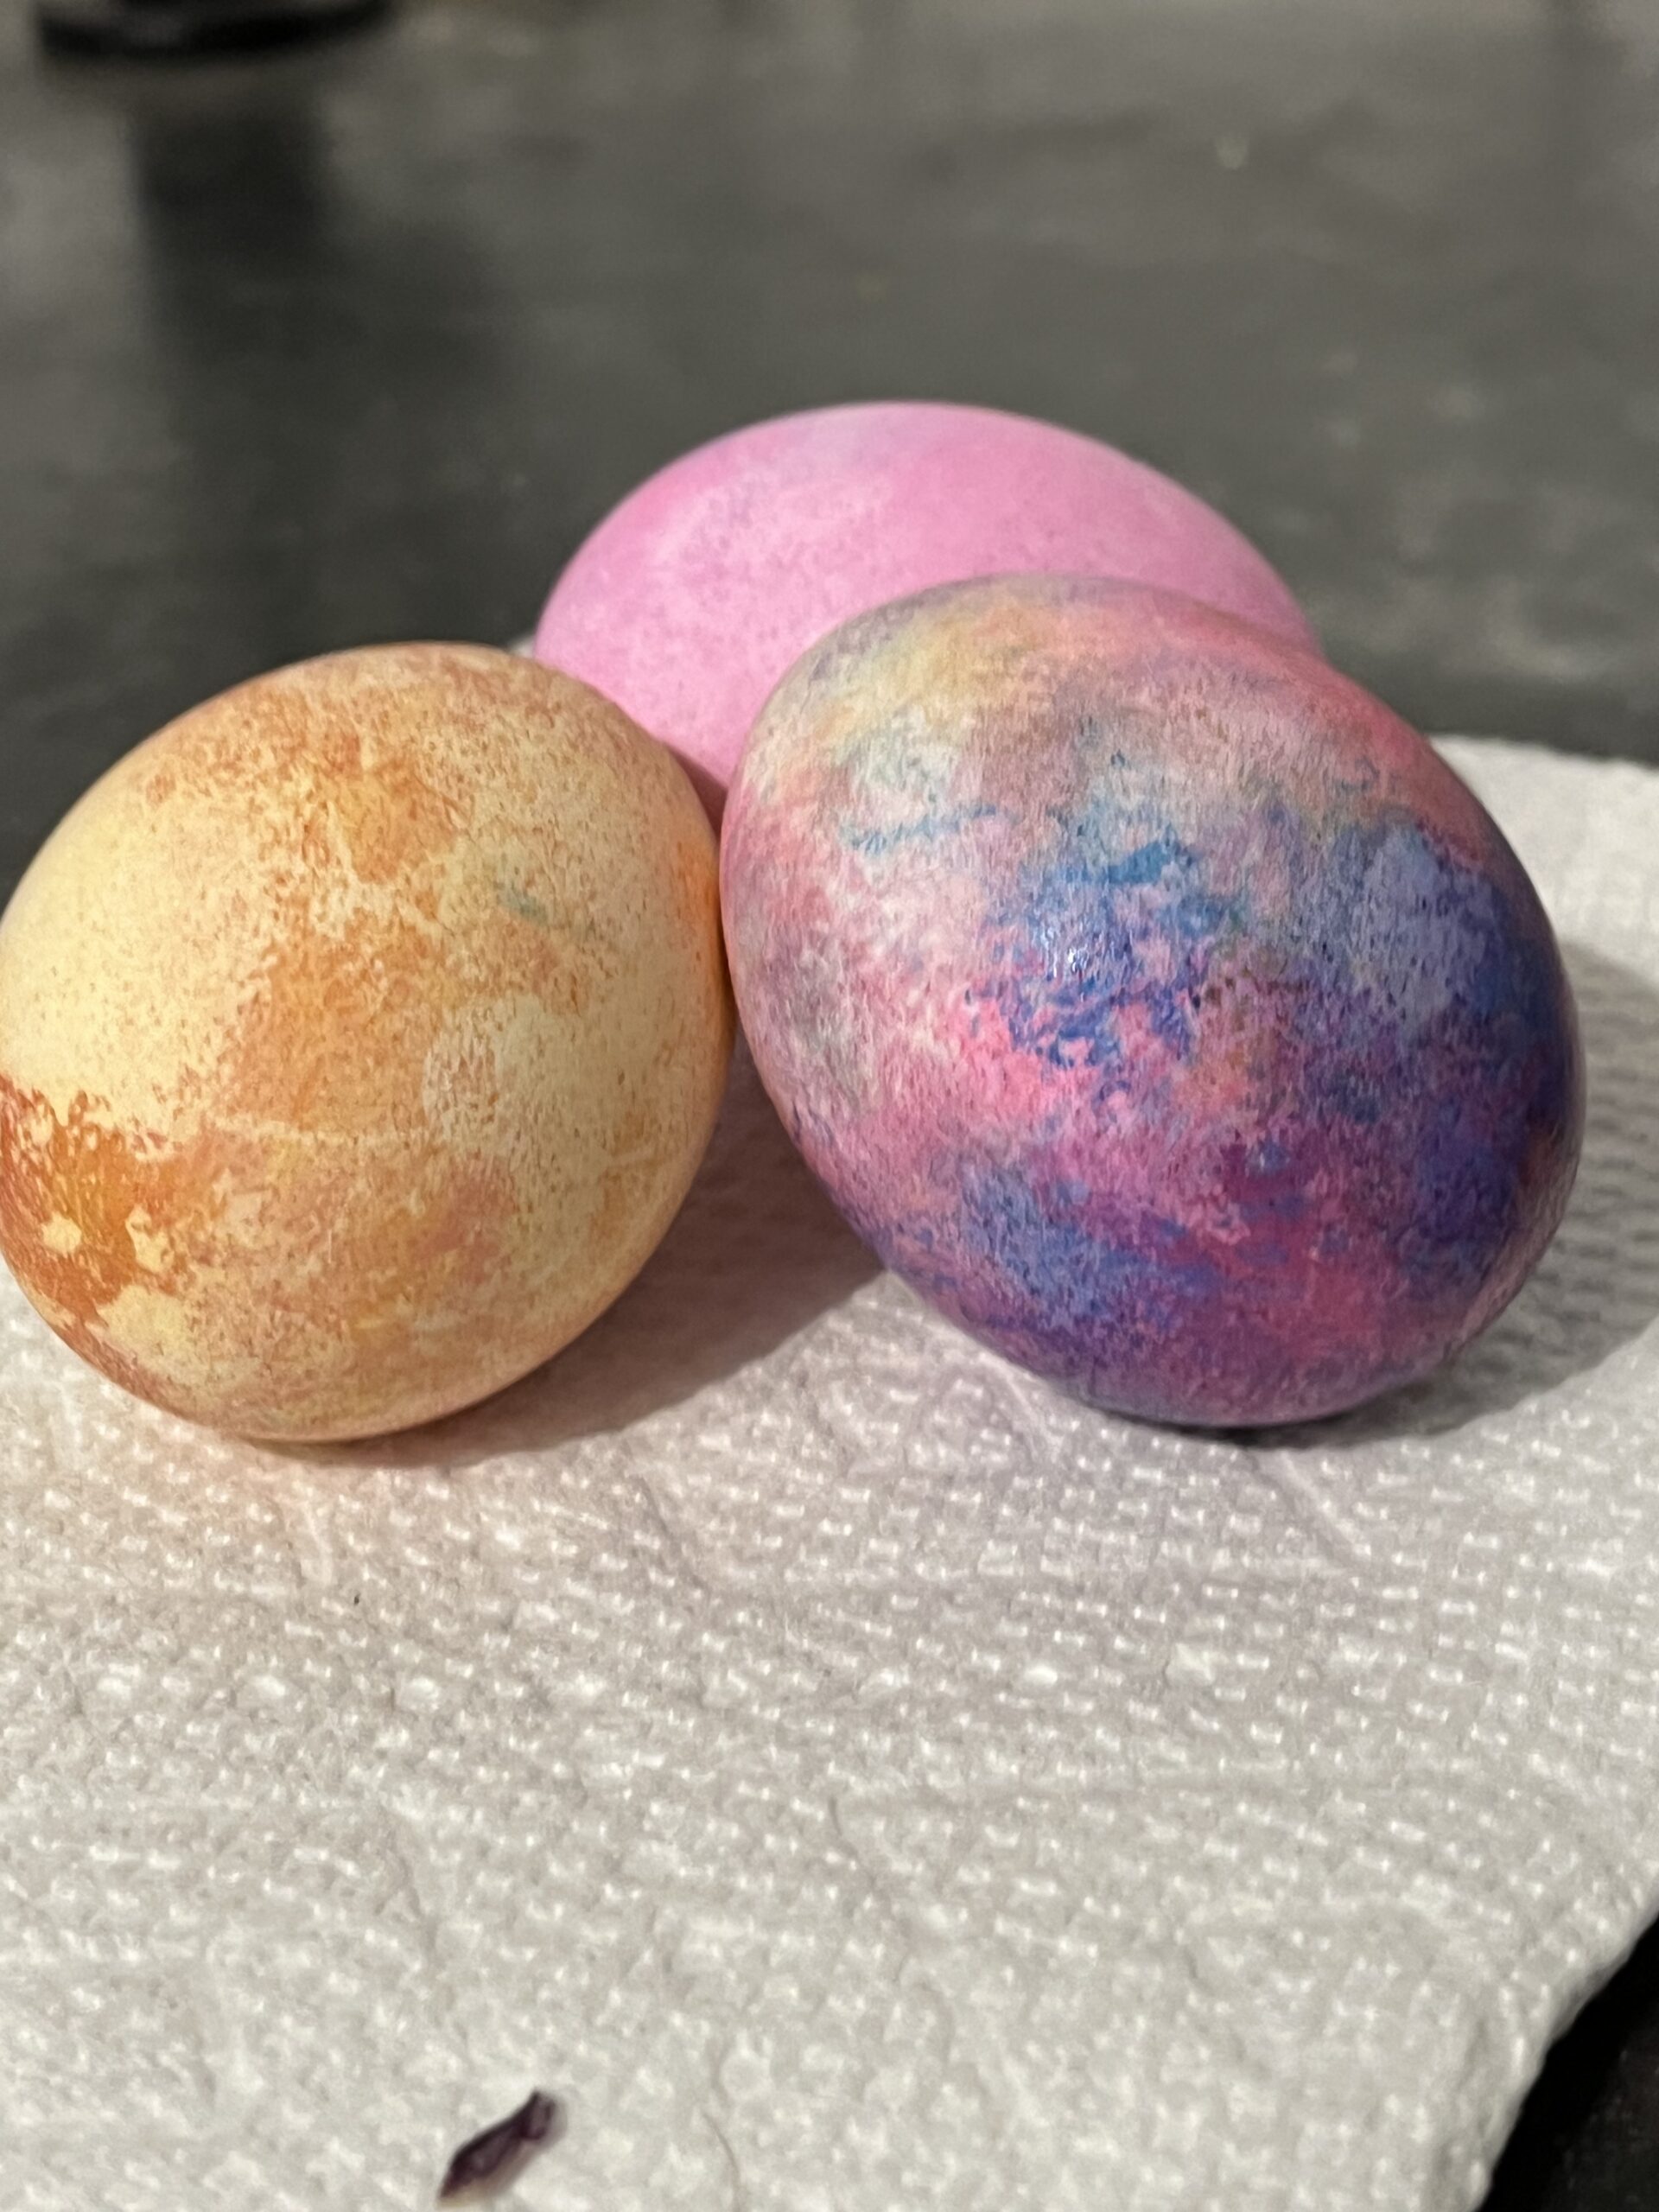
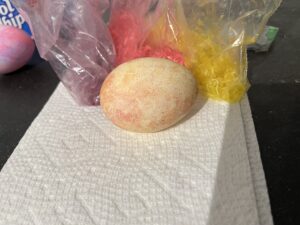
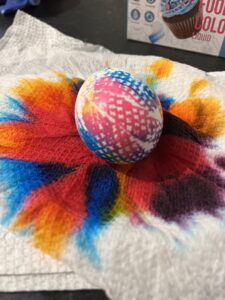
Tie Dyeing Easter Eggs
This method is AMAZING for practicing fine motor skills and pinching! This activity was also a pretty easy one and our paper towel left really unique marking on the eggs! I felt the emoji with the heart eyes when I saw it.
Materials
- Food coloring
- Paper towel
- rubber band
- hard boiled eggs
Procedure
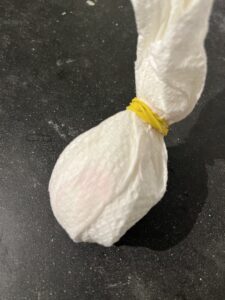
- Fold the paper towel around egg
- Use the rubber band to secure the paper towel around the egg
- Gently wet the paper towel and egg. DO NOT SOAK the egg! I found that this helped the food coloring spread around the egg.
- Place drops of food coloring on the paper towel. Cover with food coloring.
- Let the egg sit in the paper towel for at least 5 minutes
- Remove the egg!
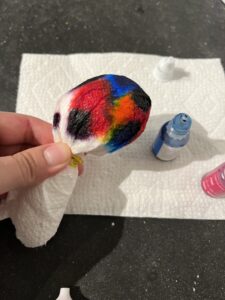
This method for dyeing easter eggs was so much fun because they turned out so unique! It was so interesting to see the different patterns that formed on the egg. While the egg is drying, you can still smear the coloring. If you want the pattern to remain, avoid touching the egg until it is completely dry.
Final Thoughts
The memories Evie and I made while dyeing these eggs were priceless. I loved allowing her to help in this process. I am so excited to do these with her again next year and creating a tradition that is fun and meaningful for both of us!
Which method was your favorite? Did your toddler love the hands on messier cool whip method? Did you get some cool patterns with the tie dying Easter eggs? I would love to hear about your experiences with your children! Feel free to share or comment below!
I love that you provided different options! This will keep egg dying interesting. My boys are going to love trying these methods!
[…] leftover rice from our egg dyeing activity, Evie and I created a fun, dyed rice sensory bin. The best part of this is that I was able to […]