I draw my inspiration from the children around me. I try my best to observe that they do naturally and try to figure out why they are doing that action or what they are trying to learn. One thing I have noticed that all my children love to do is stamp. Just the other day, I had a sly child sneak into my car bucket, take out a tractor, casually walk back to the table, slap it into some paint and roll it all over our watercolor masterpiece, like he was auditioning for a tractor demolition derby. He ran up to me “Mrs. Catie, Mrs. Catie! Look at my paper”! Then he proceeds to gently lifts the paper into the air like it was sent from the Heavens…I must admit, the tracks did look pretty cool. This messy tractor experiment led me to my next shape STEAM lesson for all you creative minds! Printmaking! One of my favorite opportunities to combine art and math is printmaking! Printmaking can be simple images, or it can be a complex, detailed, laying of shapes and colors to create amazing works of art.
Printmaking is also an amazing activity to do with children! Watch your child immerse themselves into this creative art project that will help them recognize their shapes and colors. The best part is that this shape STEAM lesson can be differentiated to fit your child’s age and learning needs!
In this shape STEAM lesson, we will look about how your child can explore toolmaking by creating their own stamps, create a colorful masterpiece, and strengthen their shape knowledge!
Shape STEAM Lesson Integration
Math
I LOVE this lesson because it introduces a fun, exciting way to interact with children and bring about natural conversations about shapes. This activity is a great opportunity to create shape patterns with your child. In preschool, a child should be able to identify six geometric shapes. Additionally, a preschool child should be able to create and expand upon a two-step pattern. So, a child would be able to create their own AB pattern and extend it as long as they want to. For example: red, blue, red, blue, red, blue, red, blue. This benchmark is also the reason I use foam shape stickers, which come in six different colors and six different shapes. The stickers are useful because they will stick out and allow your child to create their own stamps. Your child will also be able to practice removing the paper backing using their pincher fingers and practice this critical fine motor skill.
Art
A critical skill that a preschool child should be doing within their art projects is making choices. Which color are they using? Why are they using that color? Did they use a specific shape for a specific item? They should also be able to choose tools that will help them create a desired look for their projects. In order to give children this opportunity to explore the tools at their disposal, they must be exposed to that tool. Stamping is a great tool to have a replicated shape or image appear. If children want to have the same shape printed over and over and they want consistency in their image, stamping or printmaking is the way to do it! Allow your child to explore different combinations of shapes and colors. See what they create with the shapes or stamps they are given. Allow them to make artistic choices during this shape STEAM lesson and engage with them when they are making those choices by asking questions about their reasoning.
Materials for your Shape STEAM Lesson
This post may contain affiliate links, which means I’ll receive a commission if you purchase through my links, at no extra cost to you. Please read full disclosure for more information.
- Cardboard
- Ink pad
- Paper

There are a couple of different substitutions that you can make for this activity:
- I use the foam shape stickers and cardboard to create my own stamps. You do not need to do this. You can use anything in your house as a stamp. My daughter has shape block that can be used. Instead of printing an entirely colored in shape, it would produce only the outline. This could be a fun contrast for children! You could use the bottom of a child’s shoe and explore the shapes on the bottom of the shoe.
- I decided to use an ink pad for this activity. To be honest, I considered using paint, but I didn’t have the heart to clean up a paint mess. I’m sure I’m not the only person that has had one of those days! If you have paint laying around your home, feel free to use those! Personally, I really enjoyed using the ink pads. They were large and the mess was almost non-existent. I say ‘almost’ because Evie did end up with a couple inky fingers.

Creating your print masterpiece!
For this activity, I recommend setting out a whole lot of options for your child to choose from. Allow them to pick the shapes and the colors that are most appealing to them. Again, preschool children should be experimenting with choices and artistic expression. While they are picking out shapes and colors ask them about the color they are picking.
Have them identify the color. You can add in a second language! I always teach my children the English and Spanish names for colors, shapes and numbers. I will have children stop me in the middle of a lesson by shouting ‘rojo’ or ‘amarillo’! I’ll be slightly confused until I see that a picture has red or yellow in it. They are just demonstrating that they have learned their Spanish colors and they are so proud of their accomplishment.
Have your child identify the shapes! These foam stickers have six different shapes. That’s the benchmark for preschool children. The more children are exposed to the content, the more likely they will remember it, or identify it in books that you are reading, or when you are out shopping!
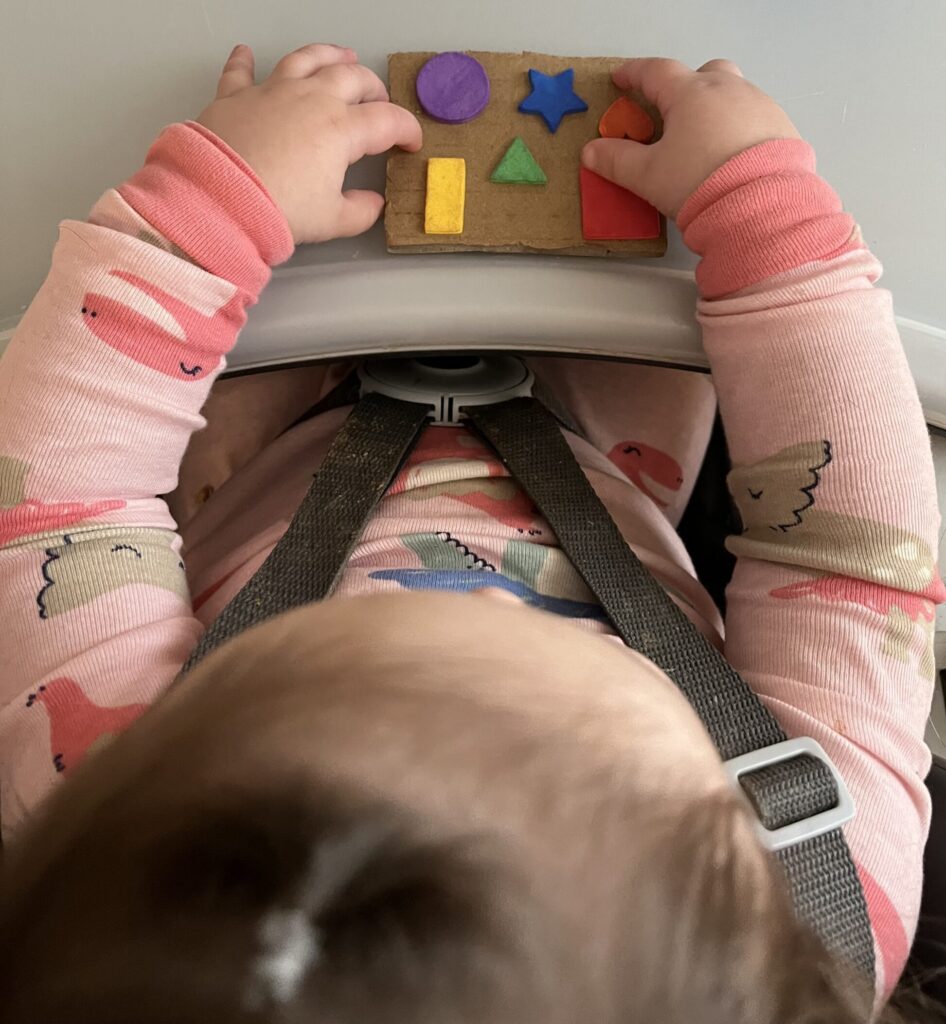
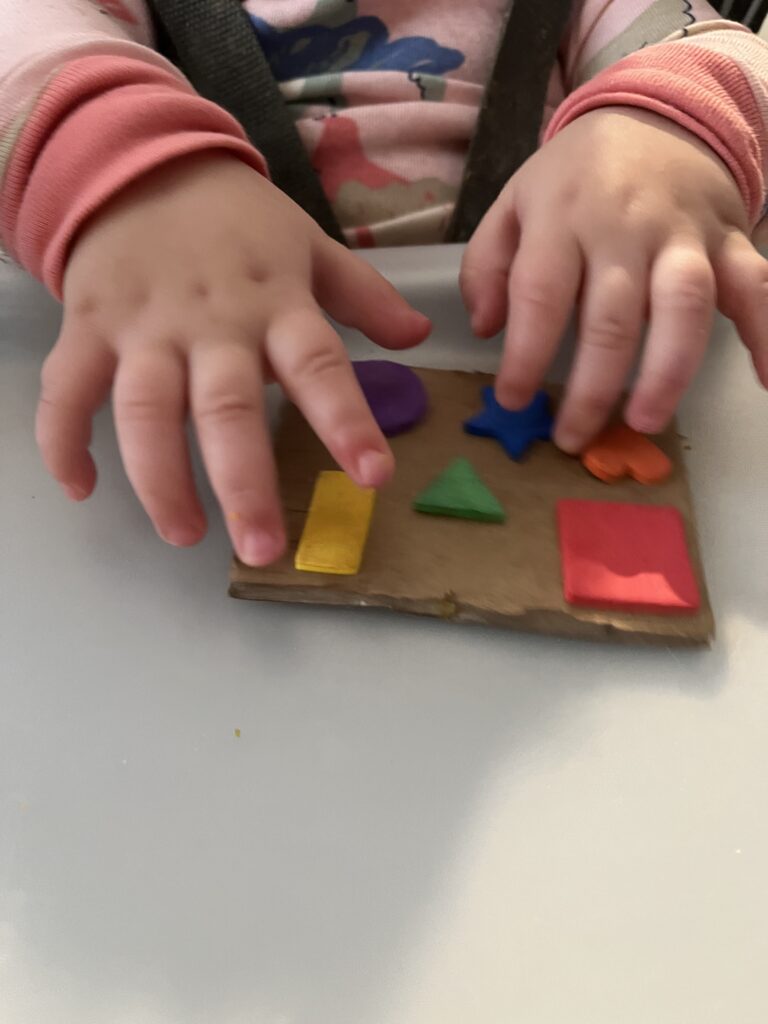
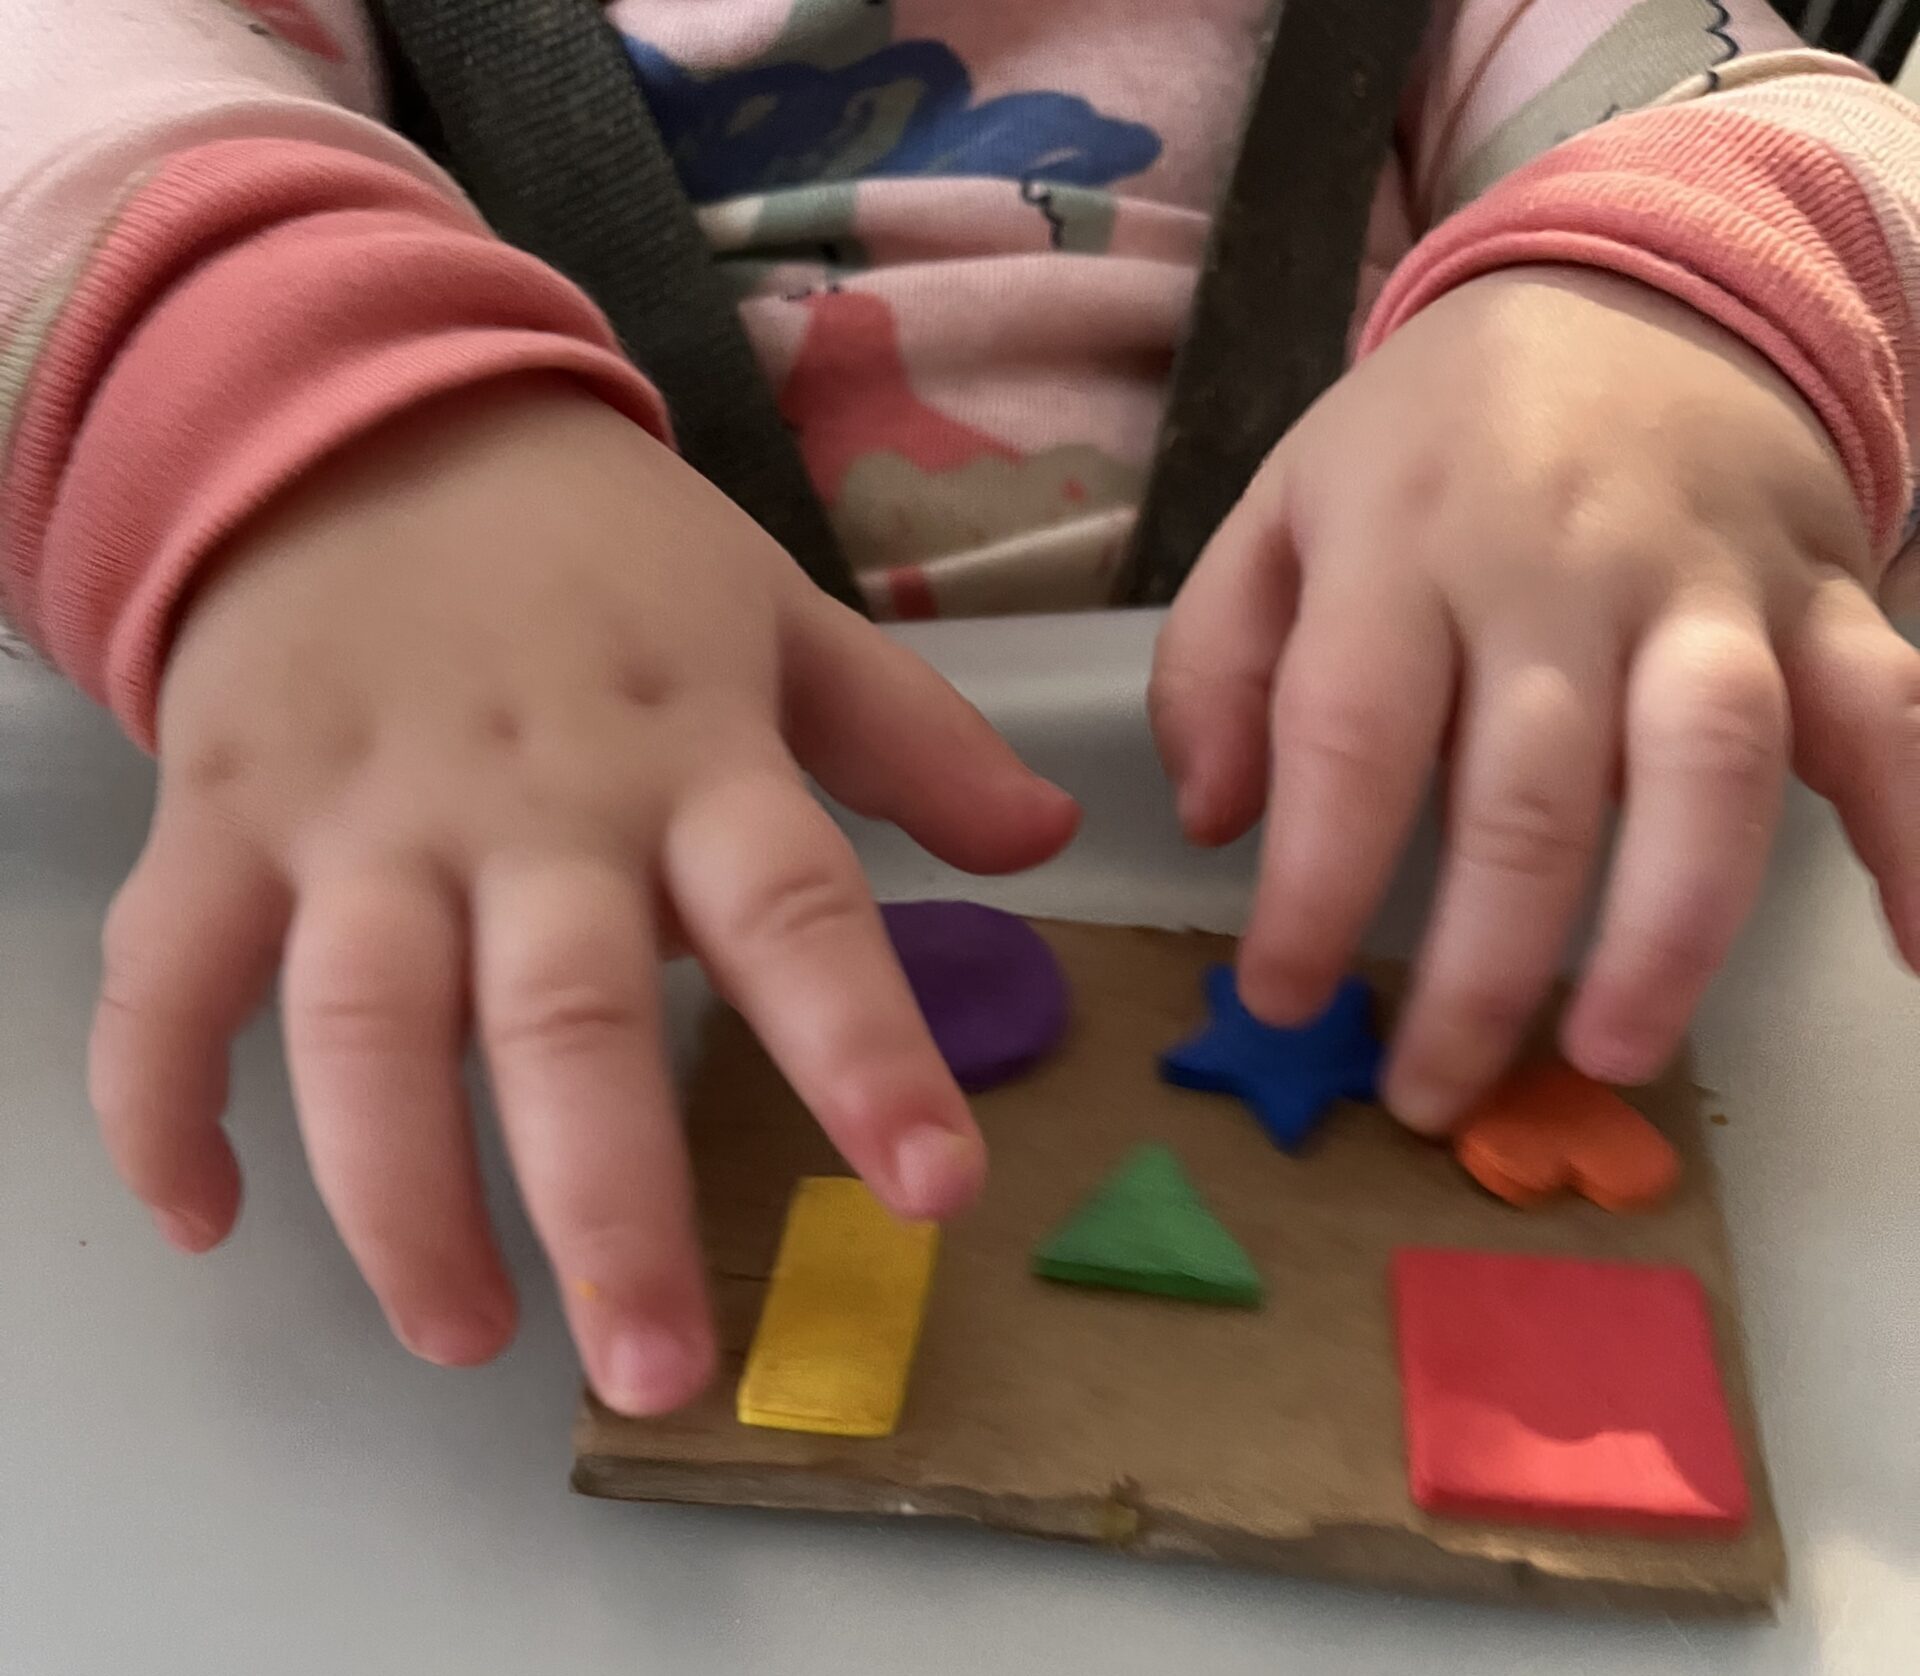
Evie was very interested in the foam shapes. While she was sitting in her chair we talked about each shape as she tried to claw them off of the cardboard. This is also a great exercise for your child to do! It will help with fine motor skills! She loved feeling how squishy the foam was, so she spent a lot of time poking the shapes!
Allow your child to attempt to remove the paper backing on the stickers! This is great practice for developing their fine motor skills. No new skill is learned without practice. The more practice your child receives the easier it will become!
There are a couple simple steps
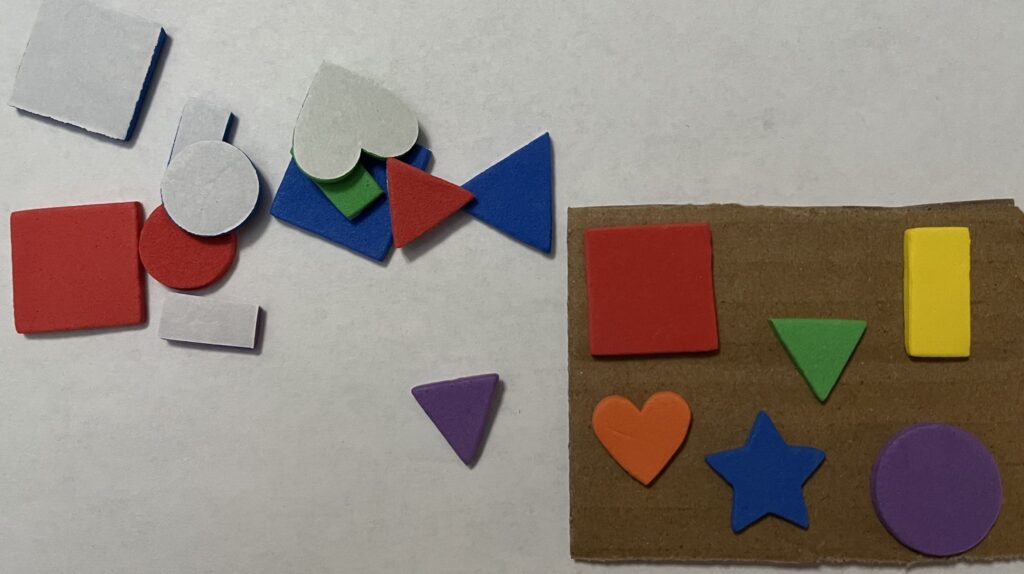
- Gather your materials that you will use for your stamps. For me, I used foam shape stickers and a cardboard cutout.
- Stick your shape stickers onto one side of the cardboard cutout.
- Place your stamp, shape side down, onto your ink pad and press firmly.
- Lift up your stamp and place, shape side down, onto your paper. Press firmly
- Lift up your stamp and enjoy your beautiful, stamped creation!
That its! This shape STEAM lesson is one of my favorites because it is easy set-up, easy to do, and easy to clean up. The hardest part of clean up was when Evie decided the shape stickers were confetti and she was throwing herself a party! But every activity can be a learning one, and she learned how to help clean up a mess.
Thank you so much for reading! I hope it didn’t seem like I was shouting at you this whole time with the sheer number of exclamation marks I have typed…I’m just super excited about this post and I hope that you are too!! How did your printmaking process go? Did you see your child making any patterns or artistic style choices? Feel free to share your experiences. I love to hear how this activity went for you!